
You can manage your account hierarchy and create sub-groups within a parent group from the Group & User Administration page.
- Creating a Sub-Group within a Parent Group
- Moving a Sub-Group
Creating a Sub-Group within a Parent Group
Select the group you want to move until it is highlighted in blue. In this example, we are moving the New Group to become a sub-group of the Administrators group.
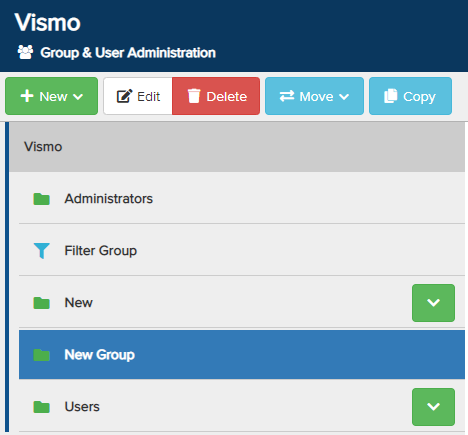
At the top, click Move and choose Move to Group from the drop-down menu.

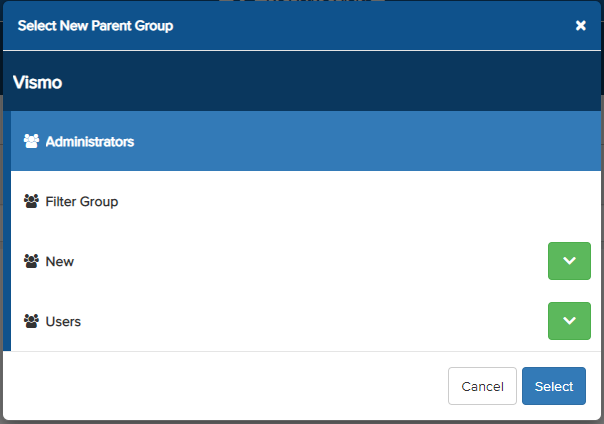
A pop-up will ask you to choose the parent group under which you want the group to fall. Click on the desired parent group until it is highlighted in blue, then click Select to confirm. In this example, we have chosen the Administrators group.
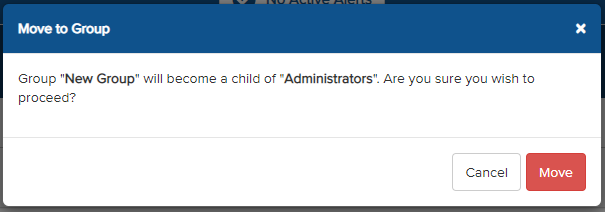
In the second pop-up, click Move to confirm the action.
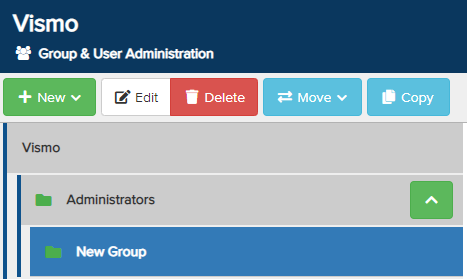
A notification will appear confirming that the action has been completed successfully. In this example, the New Group is now a sub-group of the Administrators group. Click the green arrow to view the sub-groups.

Moving a Sub-Group
To move a sub-group from a parent group, select the sub-group until it is highlighted in blue, then click Move. A drop-down menu will appear.
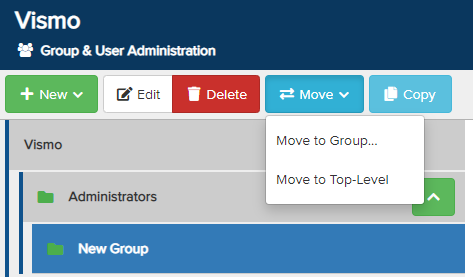
You can either add the sub-group to another parent group or make it a top-level group.
- Move to Group – To move the sub-group under a different parent group. Select the new parent group for the sub-group.
- Move to Top-Level – Converts the sub-group into a parent group.
In the pop-up, click Move to confirm your action.
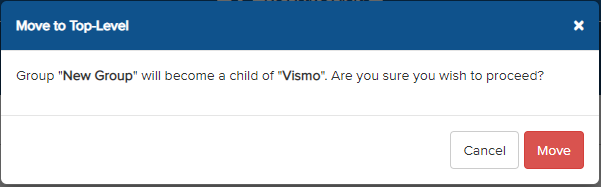
A notification will appear confirming that the action has been completed successfully. In this example, the New Group has become a parent group. All groups are displayed in alphanumeric order.
