
This article explains how to add a button to the app, enabling users to perform a check-in. This can be applied to the entire account or limited to a specific group. Please note: Before doing this, you must first create a check-in set and assign it to an account or user. If you have not already done so, click here to learn how.
Apply at Account Level
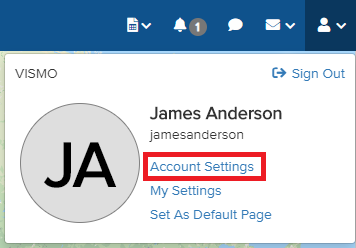
1) Select the person icon in the top-right corner of the screen.

2) Select Account Settings.
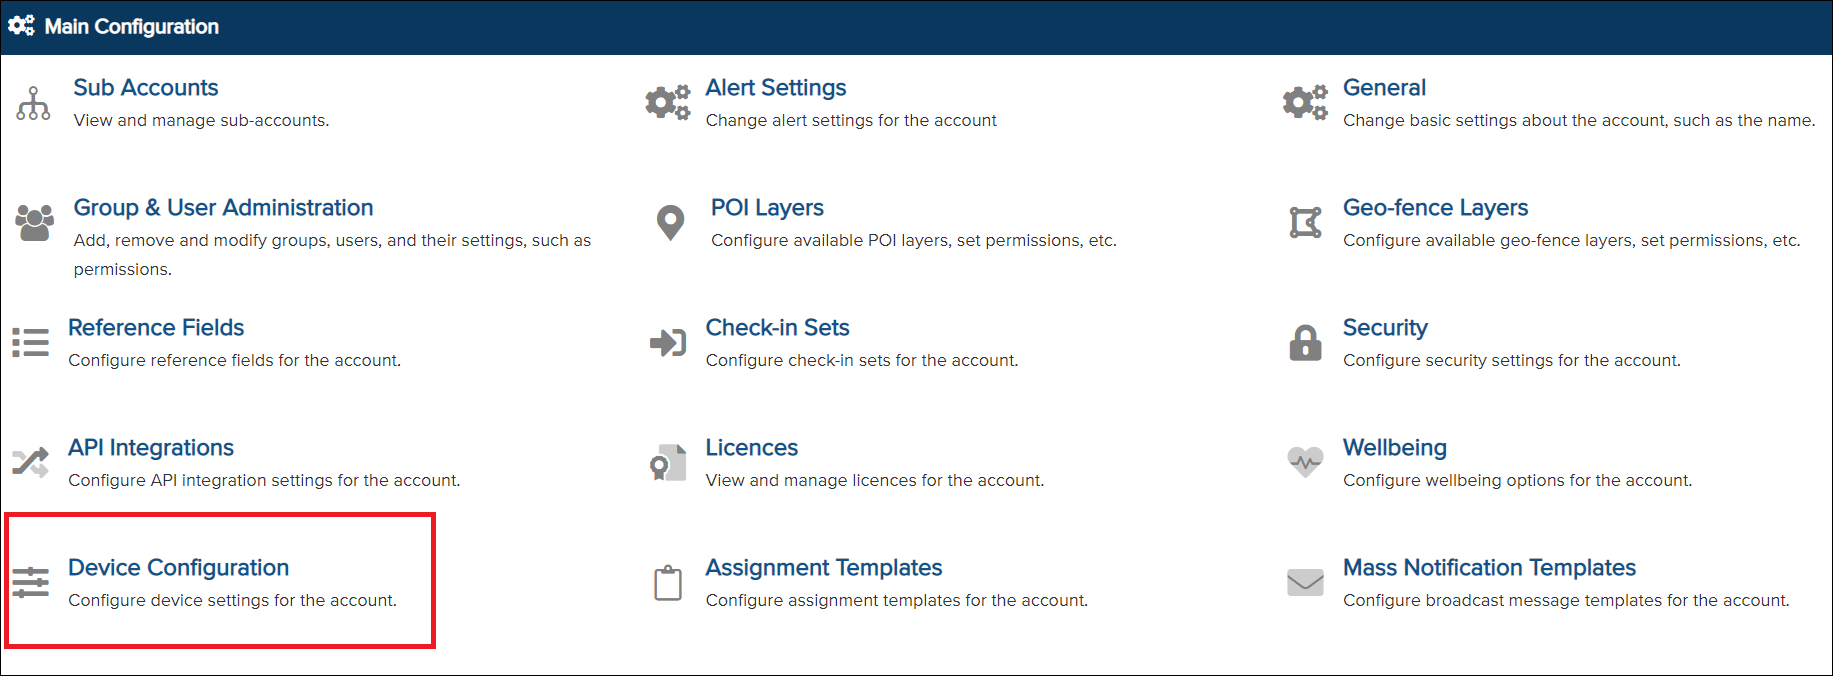
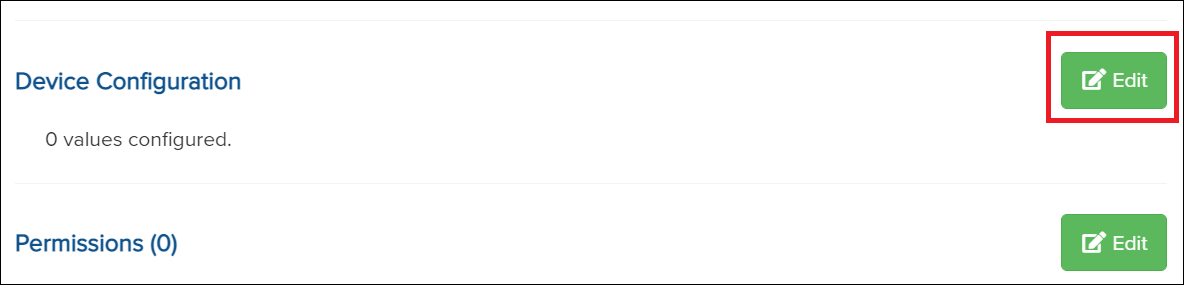
3) Open Device Configuration.
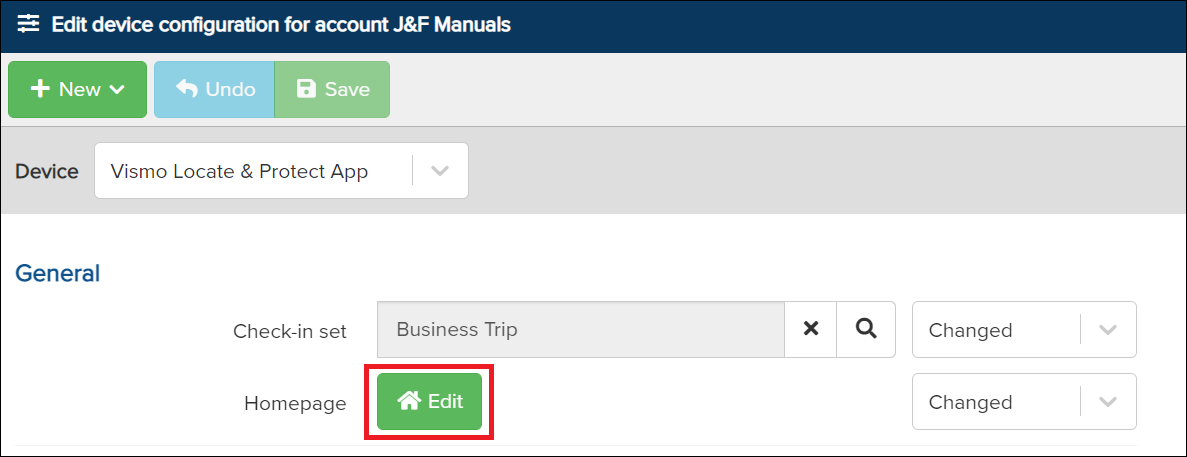
4) Select Edit.
Please note: If the screen below appears differently, it means a set has not yet been assigned. Refer to the note at the top of this article for guidance.
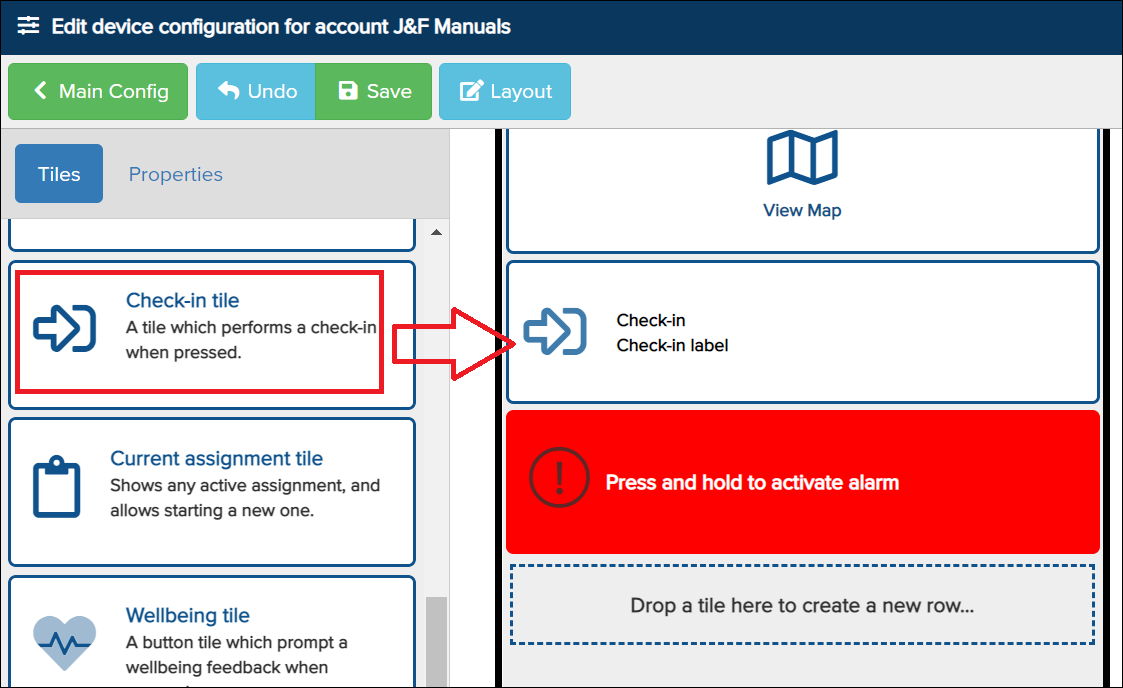
5) The app homepage editor will appear. From here, you can add a check-in button.
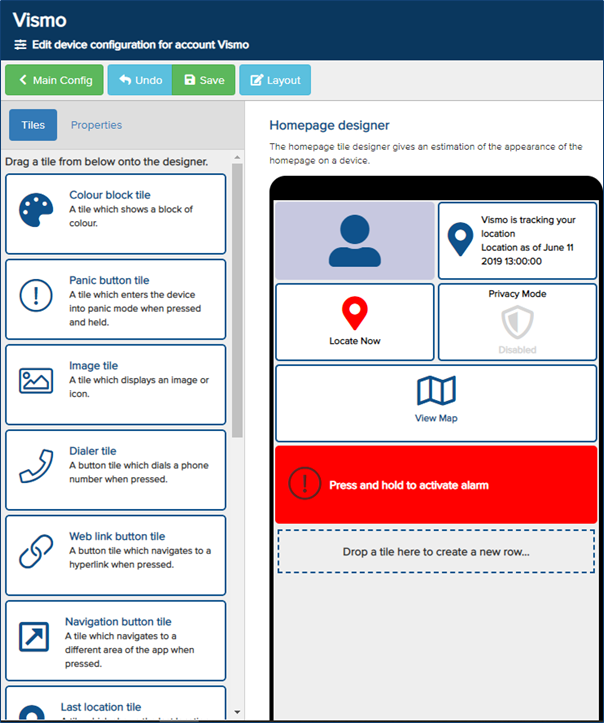
6) Search for the Check-in tile, drag and drop the tile onto the app homepage
7) Configuring the button.
- Click on the check-in button to access its configuration.
- The menu on the left will appear. This is where you can configure the button.
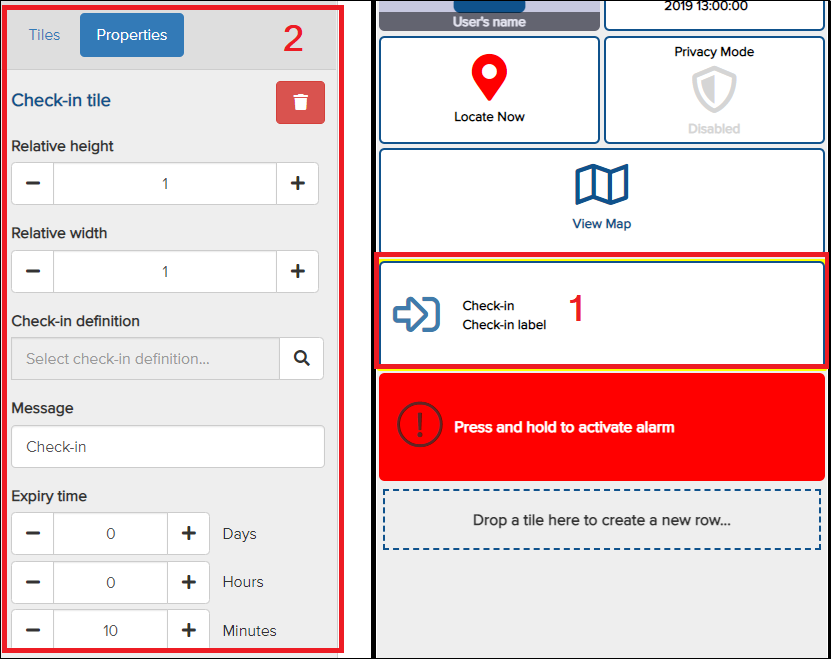
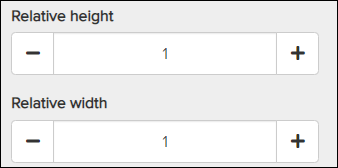
- You can customise the size of the button.
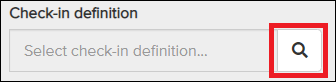
- Select the specific function you want the check-in button to perform.
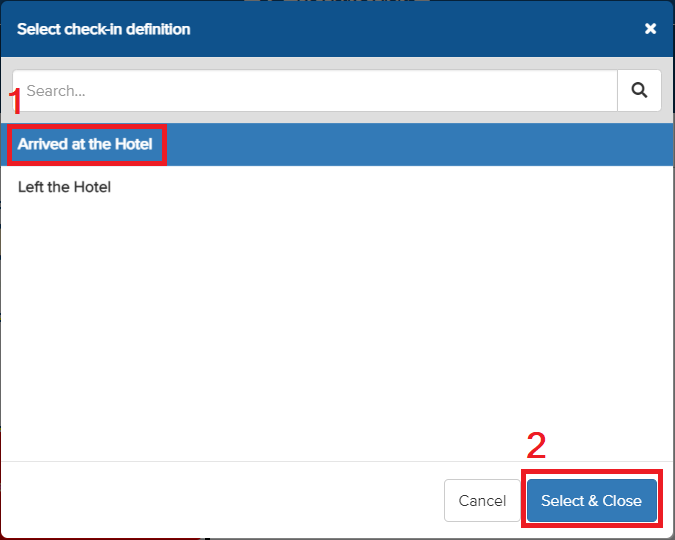
- Then, click on the magnifying glass icon.
- Choose the function for the button until it is highlighted in blue, then click Select & Close.
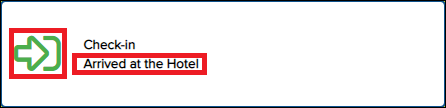
- Both the colour and the check-in label will update according to your check-in set configuration.
-
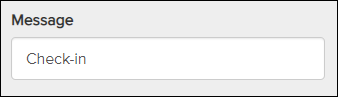
You can add additional information here for this specific button.
Please note: This message is not visible to the app user. It is intended for administrators, who will receive a notification when the app user presses the button. We recommend keeping it as “Check-in” or “Check-out.”
-
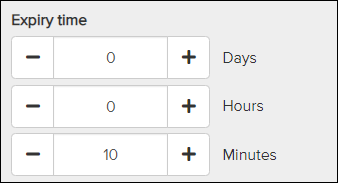
In this section, you can configure the expiry time of the check-in. When the user presses the check-in button, a countdown timer will appear, showing the app user how much time they have before a "failed to check-out" notification is sent to the administrator.
Please note: If the check-in set has not been configured with a timer, no countdown or notification will occur. You can enter any time, but it will not trigger a timed action. Only the standard check-in will be recorded.
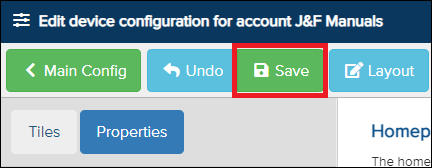
8) Once you have completed the configuration, click Save at the top.
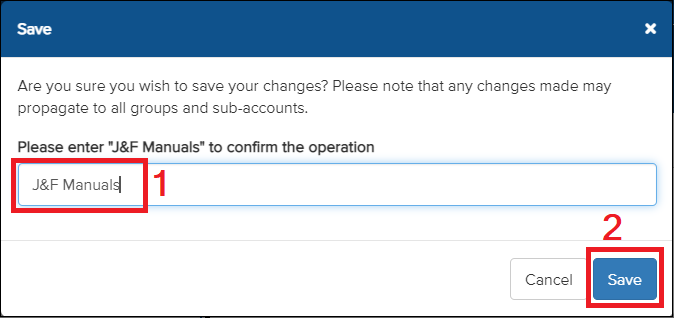
9) A confirmation request will pop up.
- Type in the confirmation as instructed.
- Click on Save.
The Check-in function is now ready for use in the app.
Apply at Group Level
1) Select the person icon in the top-right corner of the screen.

2) Select Account Settings.

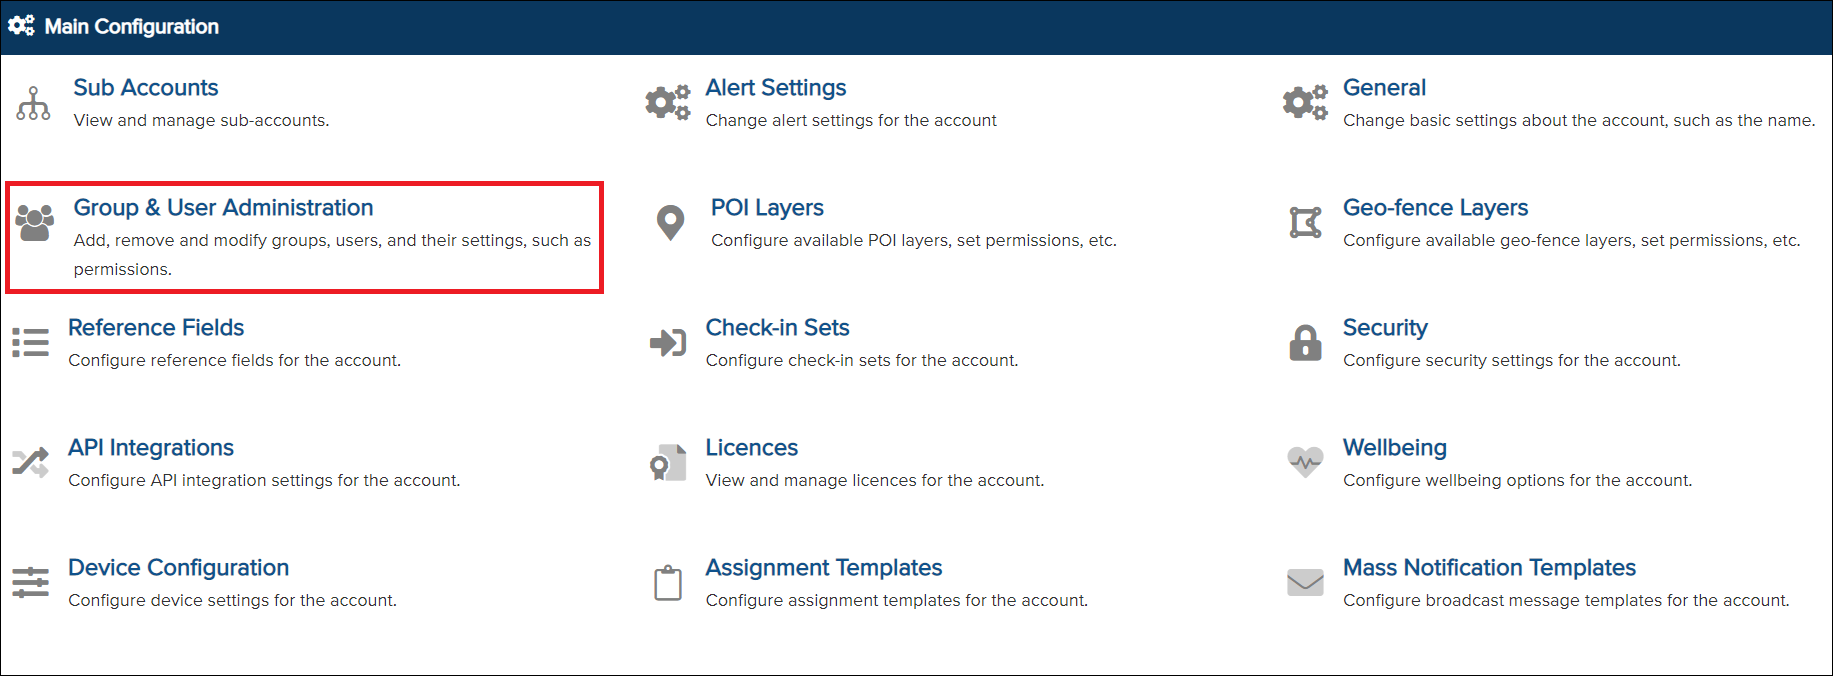
3) Click on Group & User Administration.
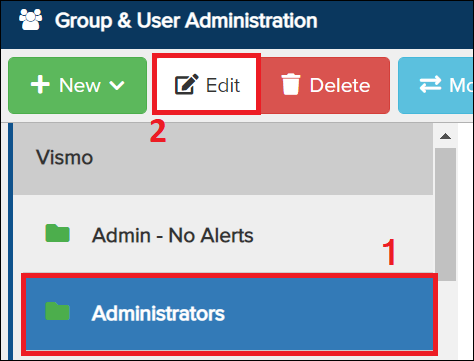
4) Selecting the group
- Select the group you wish to assign a check-in set until it highlights in blue.
- Click on Edit
5) Scroll down to Device Configuration and click Edit next to it.
6) From this point onward, the steps are the same as from step 4) in the section for adding a check-in button at the account level.
The Check-in function is now ready for use in the app.
You can also refer to guidance on what the app user will see, and further information on configuring notifications to be sent to administrators when the app user presses the check-in button.