
Assign a Check-in Set to an Account
1) Click the person icon in the top-right corner of the screen.

2) Select Account Settings.

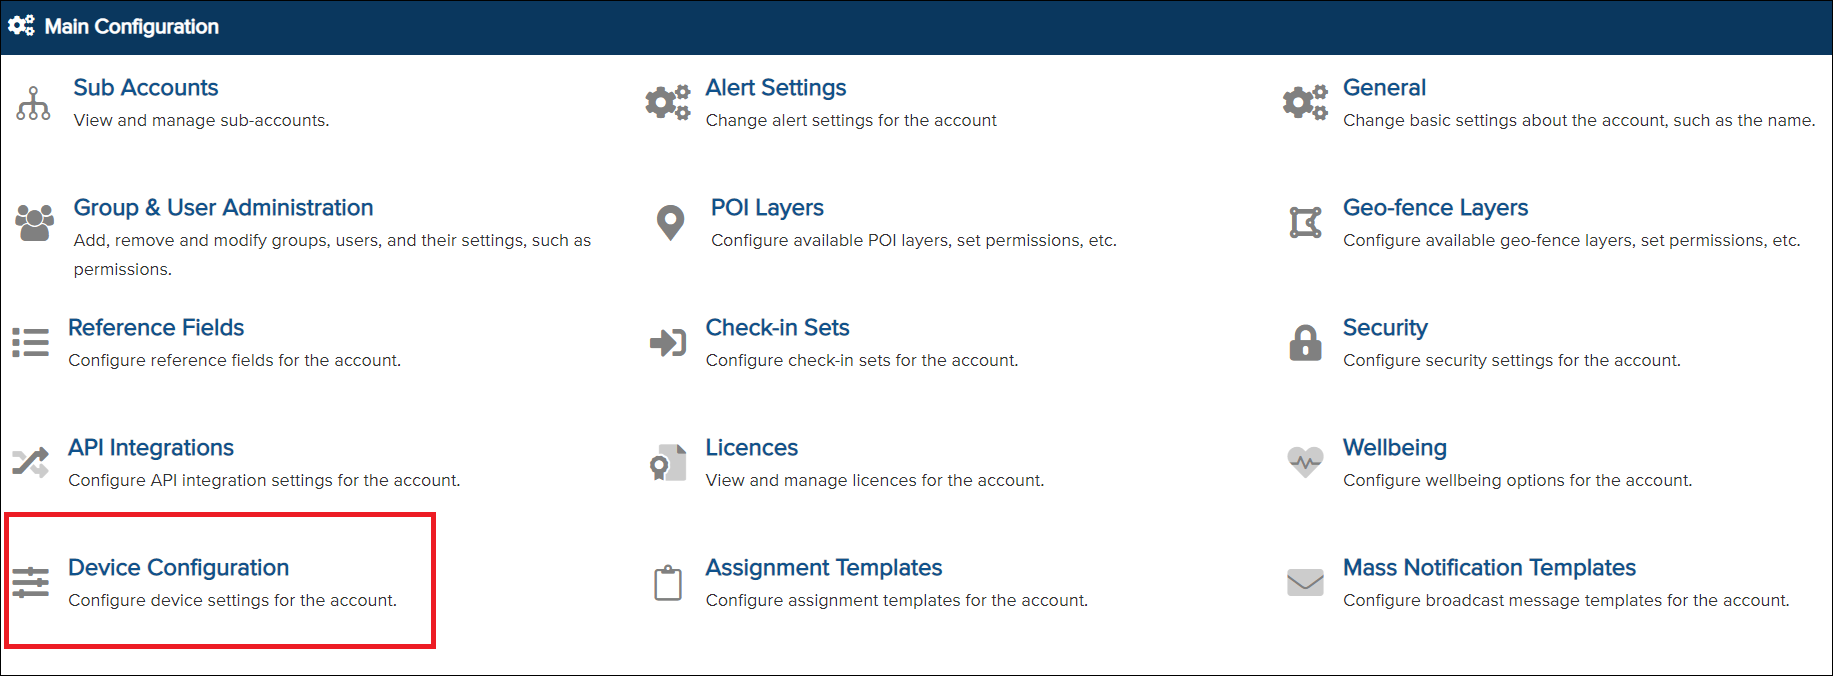
3) Click Device Configuration.
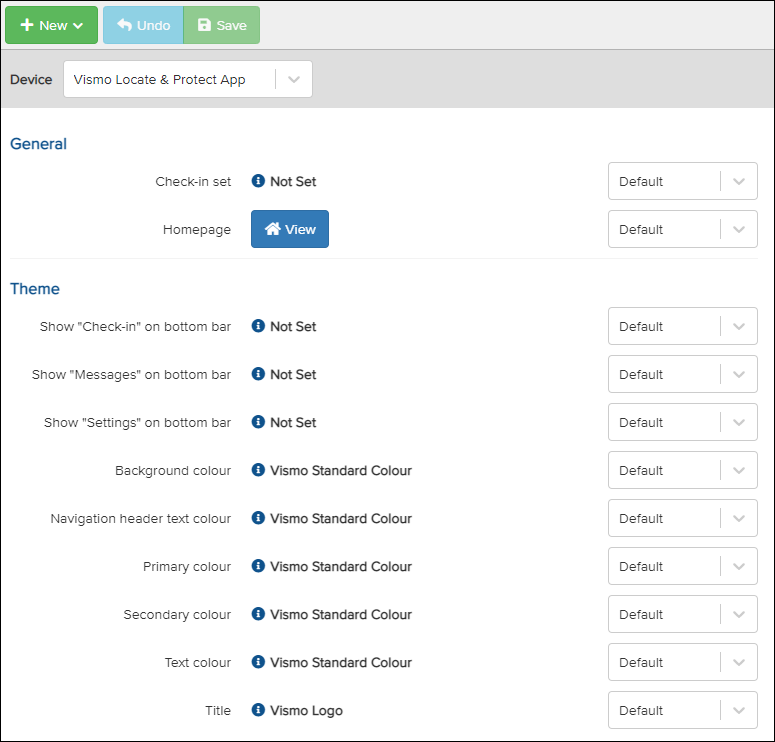
The page below will appear, showing your standard device configuration.
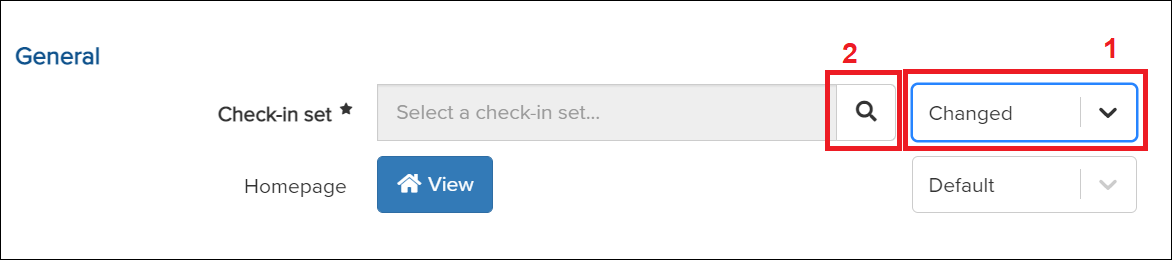
4)
- Click the drop-down box next to Check-in Set and select Changed.
- The option to choose a Check-in Set will then become available. Click the magnifying glass to view and select from the available Check-in Sets.
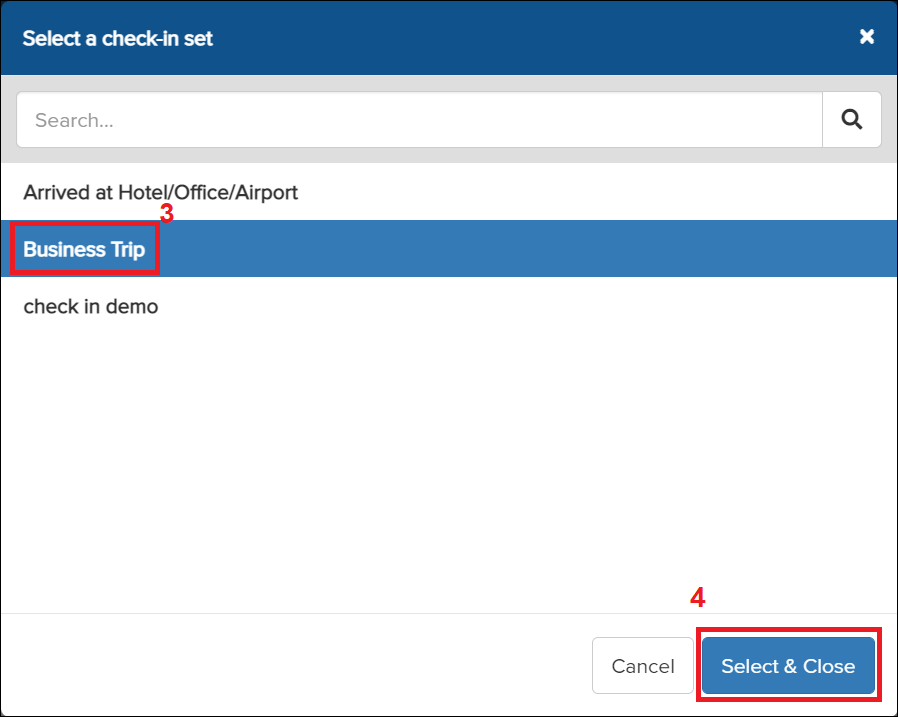
3. A Check-in Set pop-up will appear. Select the Check-in Set you want for the app, which will be highlighted in blue.
4. Click Select & Close to confirm your choice.
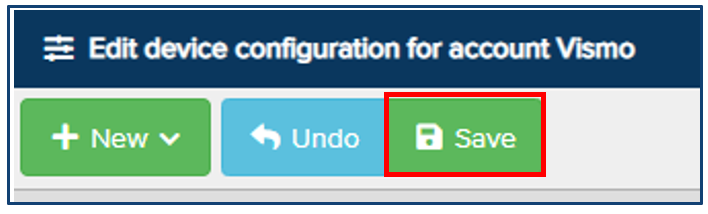
The selected Check-in Set will now show in the box. Click Save to end the configuration.

5) Optional
If you want the app user to customise a check-in reply, you will need to enable the check-in bottom bar.
- Under Theme. Click on the Default drop-down next to 'Show Check-in on Bottom Bar' and select Changed.
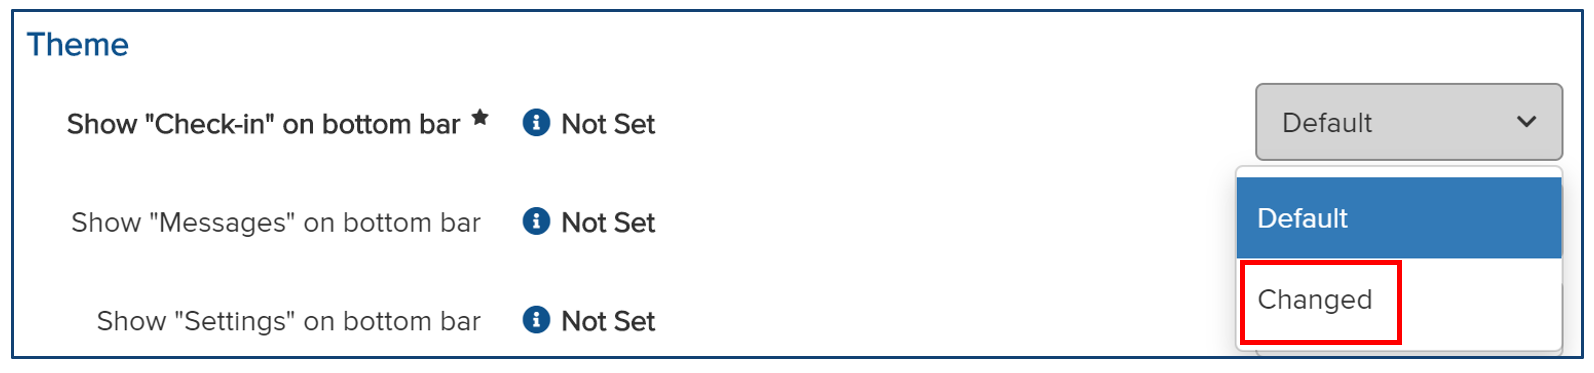
2. Turn the switch to Yes.

3. Once configured click on Save at the top.
Assign a Check-in Set to a Specific Group
1) Click the person icon in the top-right corner of the screen.

2) Select Account Settings.

3) Click on Group & User Administration.

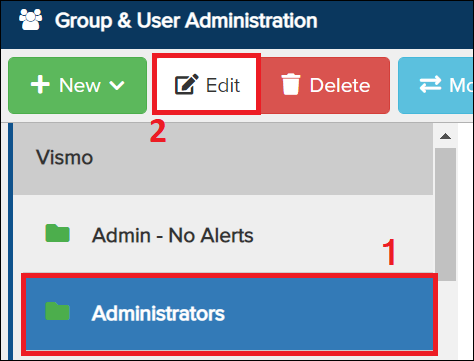
4) Selecting the group
- Select the group you wish to assign a check-in set until it highlights in blue.
- Click on Edit
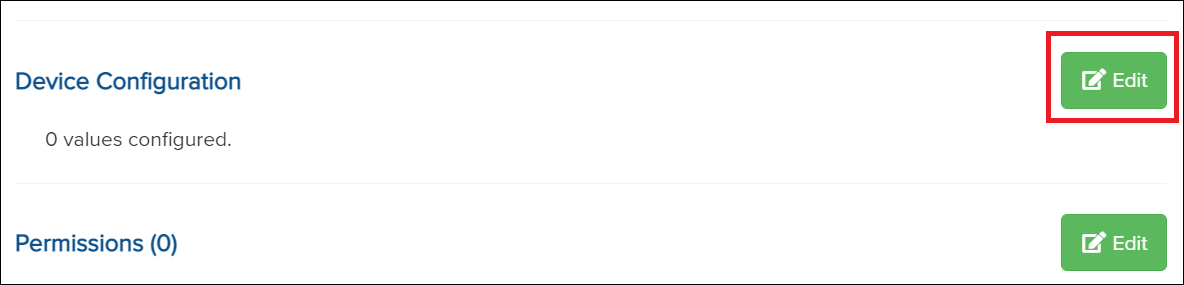
5) Scroll down until you find Device Configuration. Click on Edit next to it.
6) The steps are now the same from point 3) for the Assigning a Check-in Set to an Account, onwards.
