
A Geo-Fence is a predefined area of safety or risk. A Geo-Fence Layer allows administrators to group Geo-Fences into different categories and monitor users entering or exiting these locations.
Please note: You must first create a Geo-Fence Layer before you can create a Geo-Fence. Click here
to learn how to create Geo-Fence Layers.
Once the Geo-Fence Layers have been set up, administrators can add Geo-Fences to specific locations on the map.
1) Open the Map Dashboard and search for the location where you want to add a Geo-Fence Layer.
2) From the side panel on the left, click the Spanner icon to open Map Tools, then select “Select Area.” A popup will appear asking which shape you’d like to draw on the map. You can choose either a Polygon or a Circle:
- Polygon – Allows you to draw complex shapes. Click on the map to set the starting point, then continue clicking to define each corner until your area is complete, as shown in the example on the right.
- Circle – Draws a radius from a single point. Click where you want the circle to appear and drag outward to adjust the radius.
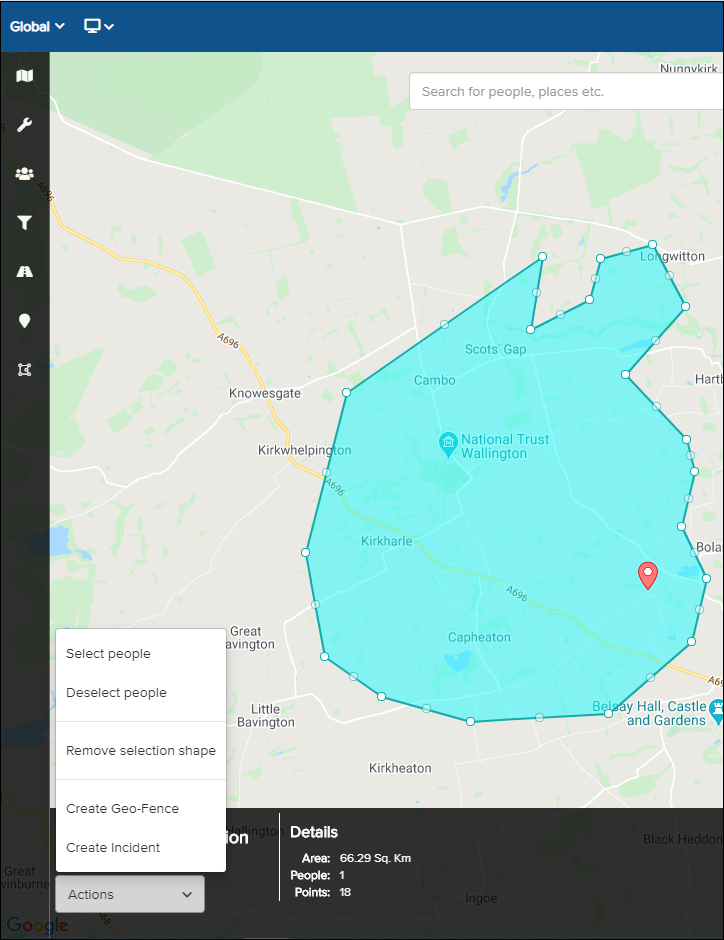
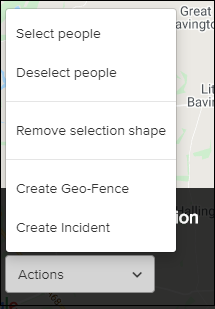
3) Once the area has been defined, click inside the shape to display the actions bar at the bottom of the screen. Click on the Actions down arrow to reveal several options, then select Create Geo-Fence.
A Create Geo-Fence pop-up will appear.
4) In the pop-up, click the down arrow to select the Geo-Fence Layer from the list. Enter a name for the Geo-Fence and, if desired, set a Start and End Date. If no dates are specified, the Geo-Fence will remain active indefinitely.
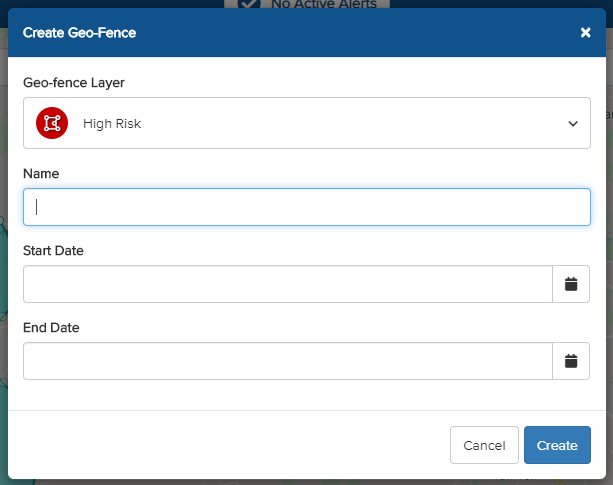
5) Once all settings are configured, click on “Create.”