
Creating a check-in set is the first step in setting up a check-in function.
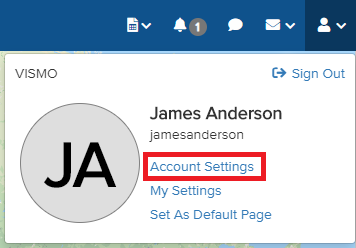
1) Click the person icon in the top-right corner of the screen.

2) Select Account Settings.
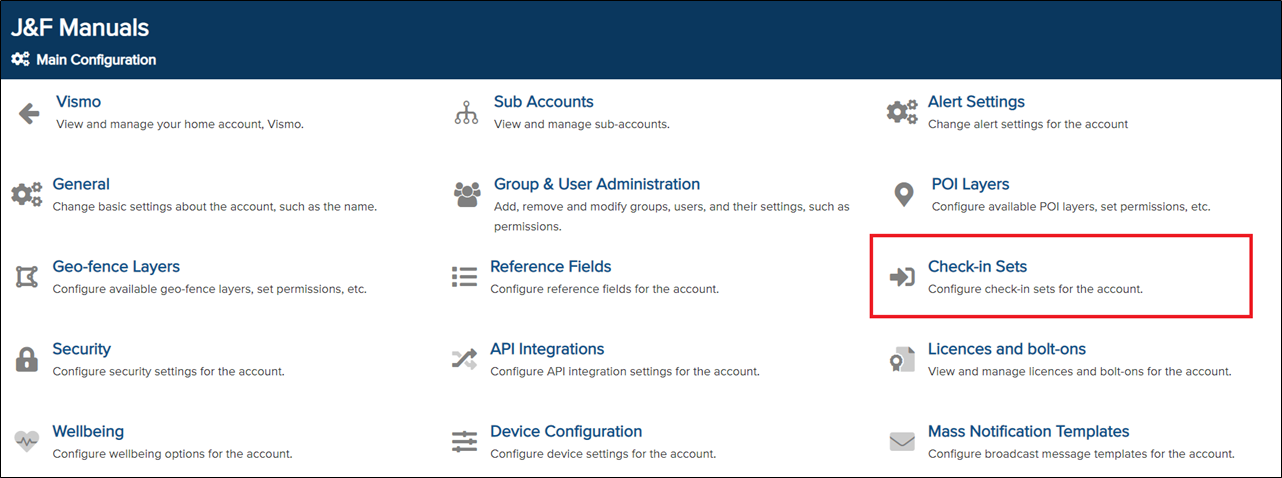
3) Click on Check-in Sets.
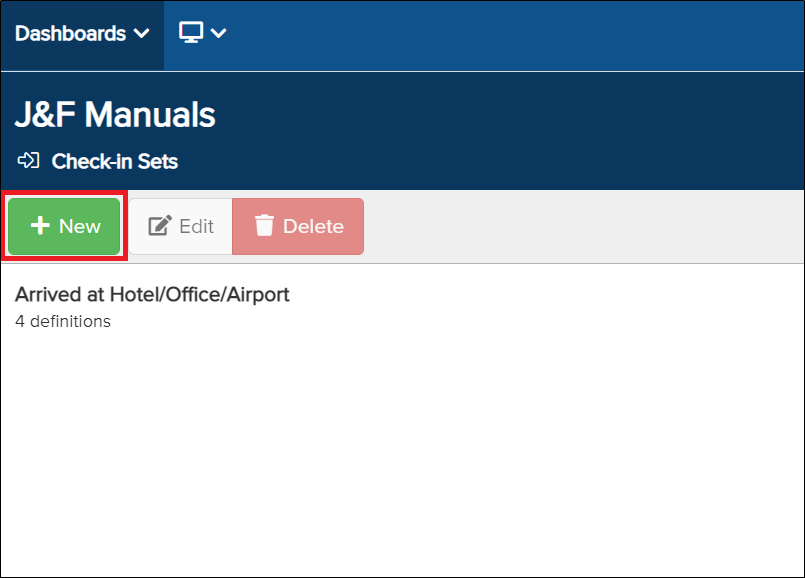
4) The Check-in Set page will appear. Any existing Check-in Sets will be displayed here. To create a new Check-in Set, click New.
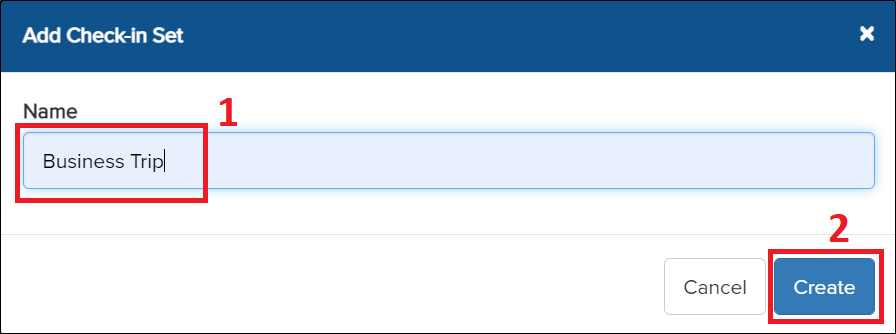
5) A pop-up will appear asking you to name the Check-in Set. Enter the name you wish to give the set, then click Create.
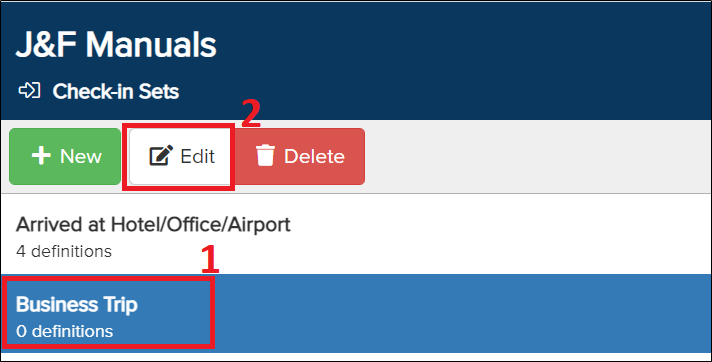
6) Once the Check-in Set has been created, you need to configure it. Select the set you created until it is highlighted in blue, then click Edit.
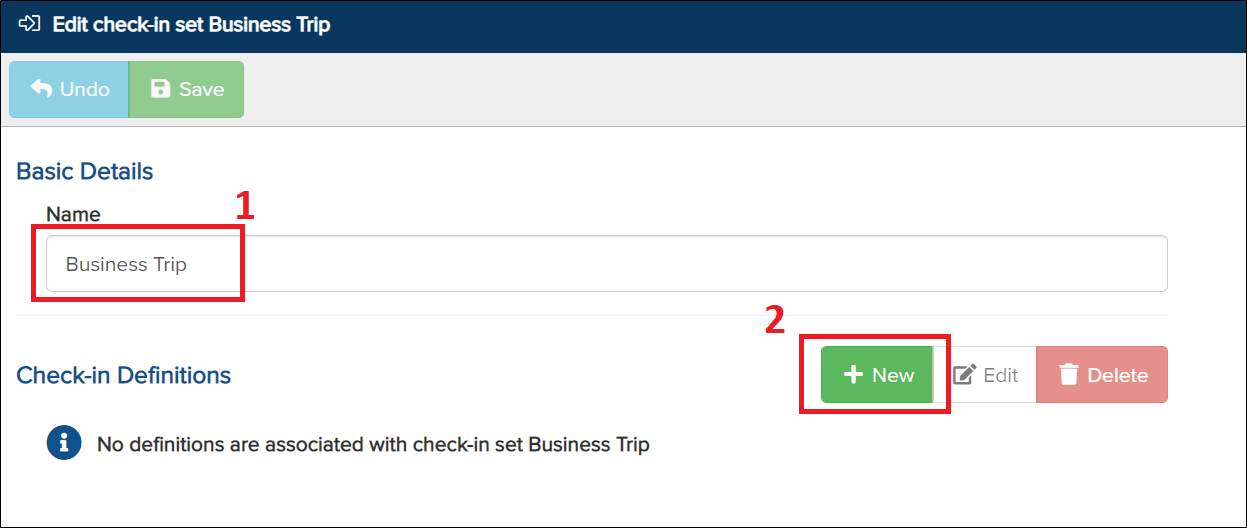
7) The Check-in Set editor page will appear.
The tile you selected for this Check-in Set should be displayed under Name. Click New to begin configuring the set.
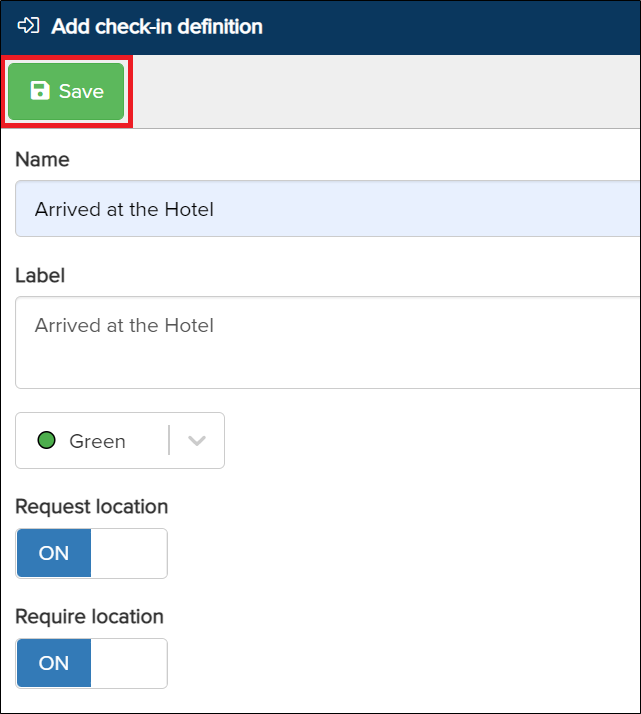
8) A new window will appear. This is the page where you will configure your check-in functions.
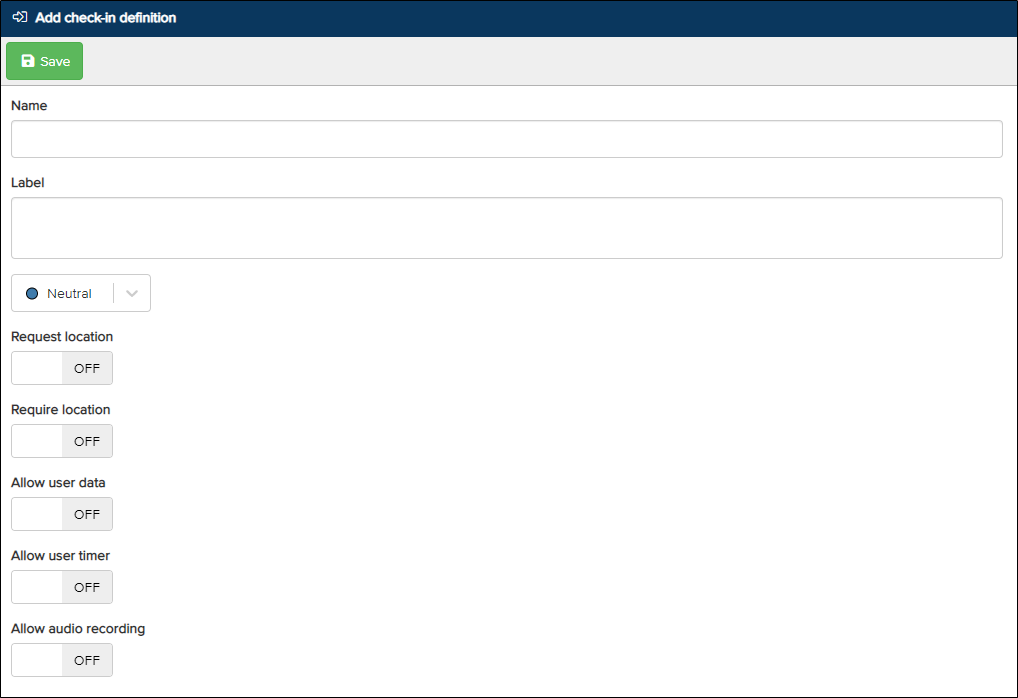
- Enter the name of the specific check-in. This field is for the administrator configuring the check-in to understand its purpose.
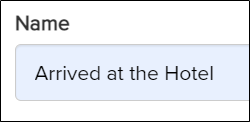
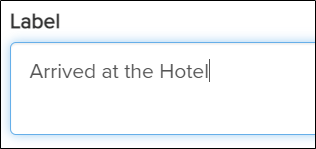
- The label is what app users will see on their tile in the app.
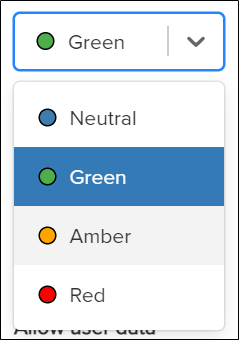
- Choose the preferred colour for the Check-in definition by clicking the Level drop-down. Options include Neutral, Green, Amber, and Red. In this example, I will select Green for the hotel check-in.
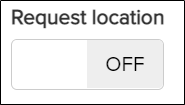
- Request Location – The app will request the user’s location when the check-in is performed.
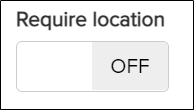
- Require Location – The user can only check in if the app is able to obtain a location.
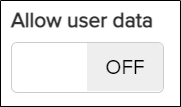
- Allow User Data – Allows the user to enter a custom message when they check in. Please note: This option will only appear if you also enable Show “Check-in” on bottom bar in Device allocations.
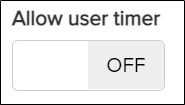
- Allow User Timer – A timer is added to the Check-in. The user must check out before the time runs out, or an alert will be sent to administrators.
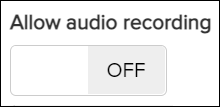
- Allow Audio Recording – The user can record a message when performing a check-in.
- Once you have defined the Check-in, click Save at the top.
9) After saving, the system will display a screen similar to the one below, showing the check-in definition you have just created. Repeat the process from step 7) to add additional check-in functions.
Please note: I have added another check-in function (Left the Hotel) as an example.
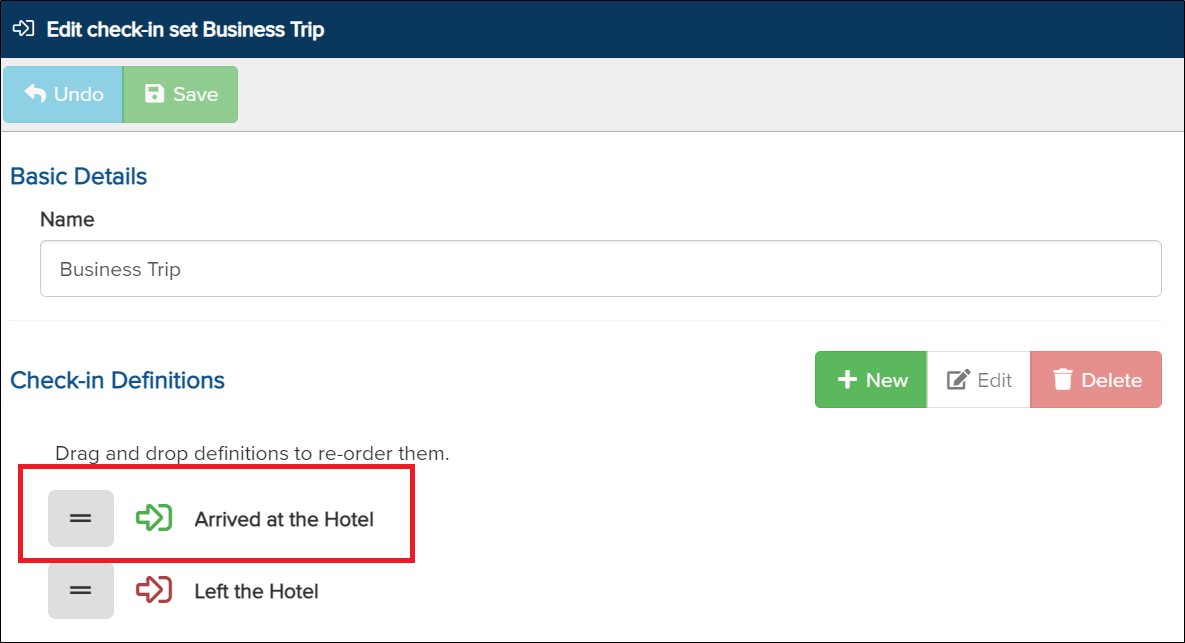
10) You can reorder the definitions by dragging and dropping them into the desired position.
11) Select a Check-in definition until it is highlighted in blue. Click Edit to modify the definition or Delete to remove it."
This concludes the first step in creating a check-in. The next step is to assign the check-in to an account or a group.