History Trail Settings let you customise your history trails.
1) Click on the Road icon in the left sidebar.
2) Ensure that Trails is highlighted.
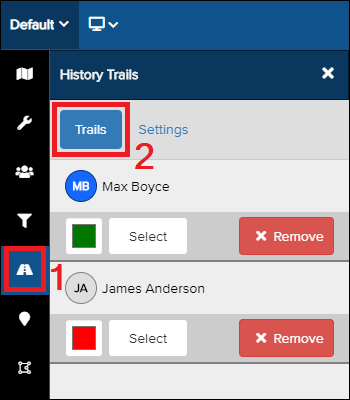
3) Click on the colour box to change the colour in which the trail appears on the map.

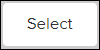
4) Click on “Select” to highlight the trail on the map and display the history trail details.
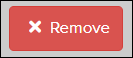
5) Click on “Remove” to delete that person’s history trail from the map.
Modify Trail Settings
Click on “Settings” to access additional History Trail settings.
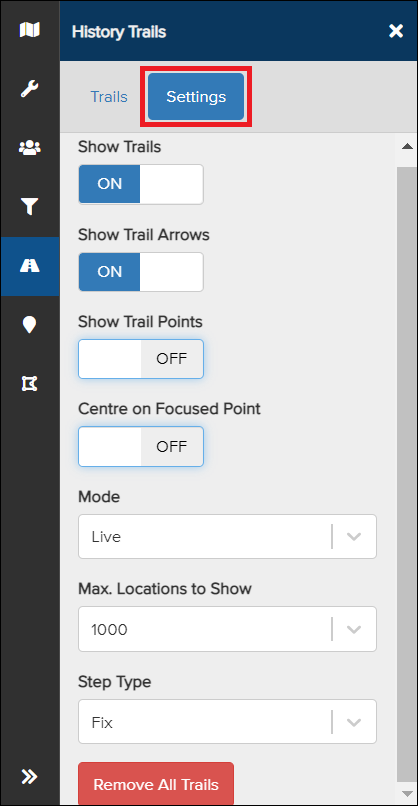
Toggle the switch on or off as needed.
1) Show Trails – Allows you to turn the entire trail on or off on the map.
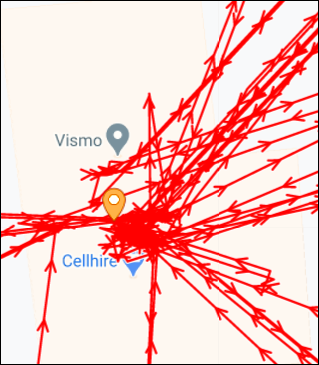
2) Show Trail Arrows – Allows you to turn the arrows on or off on the map. The arrows indicate the direction of movement.

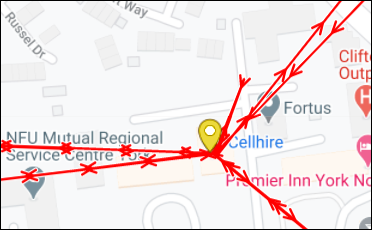
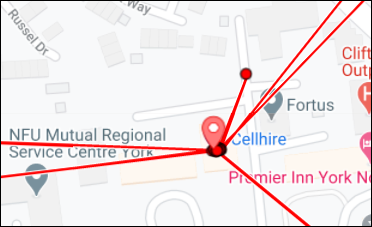
3) Show Trail Points – Allows you to display or hide the points where the fixes were recorded.

4) Centre on Focused Point – Centres the point you are viewing on the map.
5) Mode – Allows you to choose how you view a History Trail. You can select either Live or Historic.
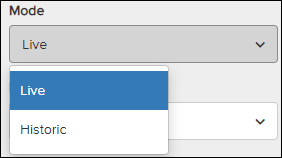
- Live – Shows the latest fixes on the history trail.
- Choose how many fixes you wish to display on the map by clicking on the Max. Locations to Show drop-down box.
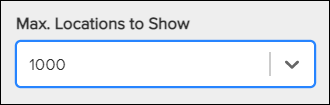
- After selecting the number fixes you want to see. Click Apply to see the change.
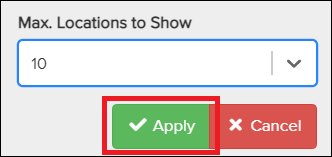
- Last 1000 fixes vs last 10 fixes.

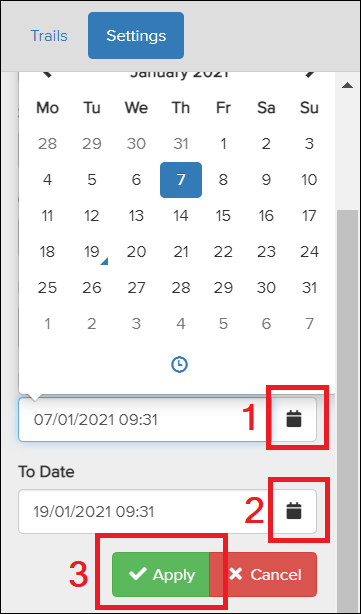
- Historic - Enables you to choose the date range of the trail you wish to view. Set the From Date and the To Date.
Please Note: You can only view a maximum of 14 days at a time.
- Click on the first calendar Icon to select a starting date.
- Click on the second calendar Icon under To Date, and choose the end date.
- Click Apply.
6) Allows you to select the Step Type between Fix and Distance.
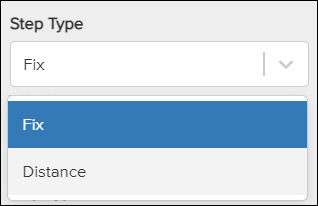
- Fix - A location is taken consistently after a certain amount of time.
- Distance - A location fix will show on the map every few miles or Kilometres.
- Click on the drop-down box.
- Select the unit of distance.
- Type the minimum distance you want to see a fix.

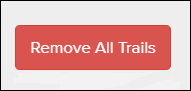
7) Remove All Trails.