Permissions allow or restrict users from performing specific actions on the portal, determining what members of a group can and cannot do.
Permissions are set at the group level. From the Group & User Administration page, select the group to which you wish to add permissions until it is highlighted in blue, then click Edit at the top. In this example, we are adding permissions to New Group.

The Group Editor page will be displayed. Click Edit next to Permissions to open the Permissions Editor page.

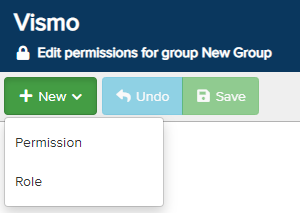
The Permissions Editor page will be displayed. To add a new permission, click New and select Permission from the drop-down menu.
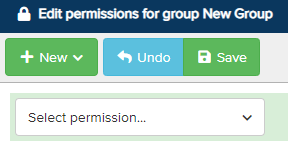
A new “Select Permission” box will appear. Click the down arrow to choose the permission you wish to add.
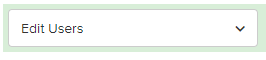
In the example below, we have selected the Edit Users permission. You will notice that several options appear next to the Edit Users permission box.

The first box indicates which permission you are assigning to the group.
The second box shows which account the permission is being added to. Click the magnifying glass to view and select any available sub-accounts. In this example, it is J&F Manuals.

The third box, Optionally Select a Group, allows you to limit which group the permission applies to. Click the magnifying glass to make a selection. If no group is chosen, the permission will apply to all groups within the account.

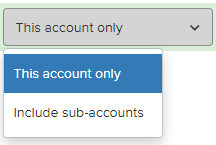
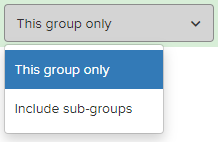
The final box depends on whether a group has been selected.
- If no group has been selected, This Account Only will be displayed. This means the permission will only apply to that specific account. To allow the administrator to make edits to any sub-accounts, click the down arrow and select Include Sub-Accounts.
- If a group has been selected, This Group Only will be displayed. This means the permission will only apply to that specific group. To allow the administrator to make edits to any sub-groups, click the down arrow and select Include Sub-Groups.
To completely remove the permission, click the bin icon at the end of the permission line.

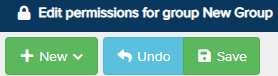
Once configured, click Save at the top to confirm the changes.