From the Maps dashboard, click the Geo-Fence icon in the left-hand side panel. All the Geo-Fence Layers will be displayed. Click on a layer for it to appear on the map, then select the Geo-Fence you wish to view.

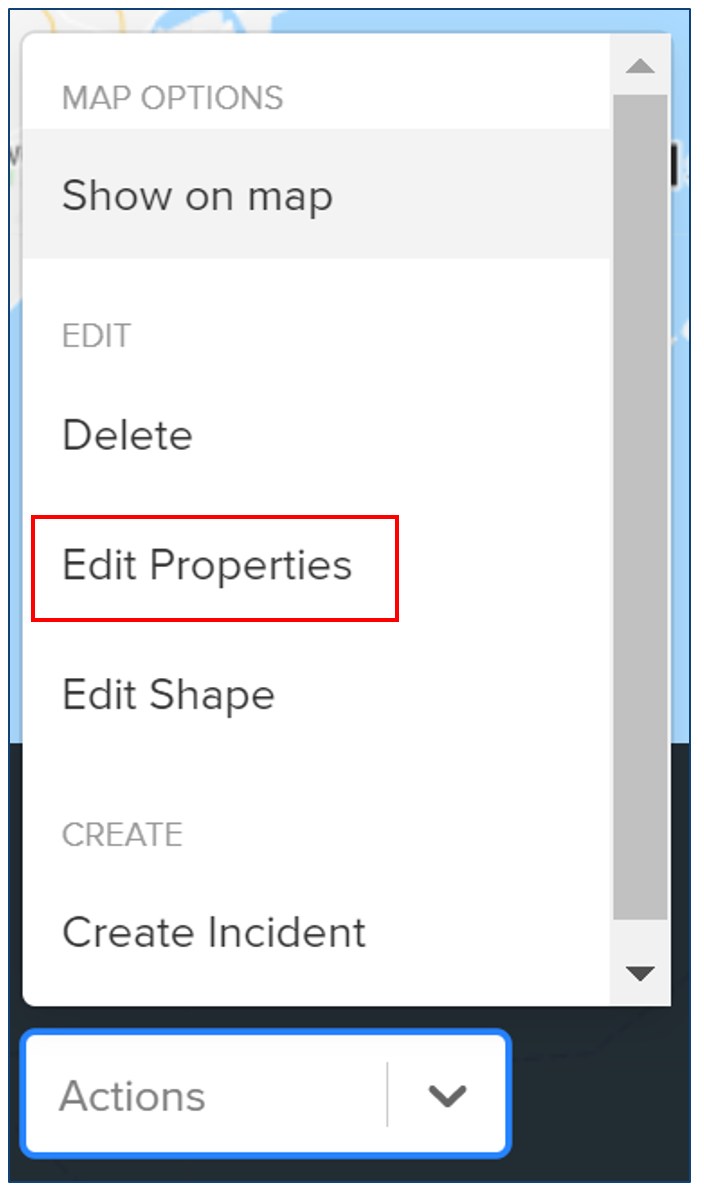
Click the Actions drop-down arrow to access additional functions.
- Show on map – Centres the Geo-Fence on the screen.
- Delete – Removes the selected Geo-Fence Layer entirely.
- Edit Properties – Allows you to edit the information about the Geo-Fence and move it to a different layer.
- Edit Shape – Enables you to adjust the size and location of the Geo-Fence.
- Create Incident – Allows you to send messages to travellers in the area. See the Incident Management section for more information.
Moving a Geo-Fence to Another Geo-Fence Layer
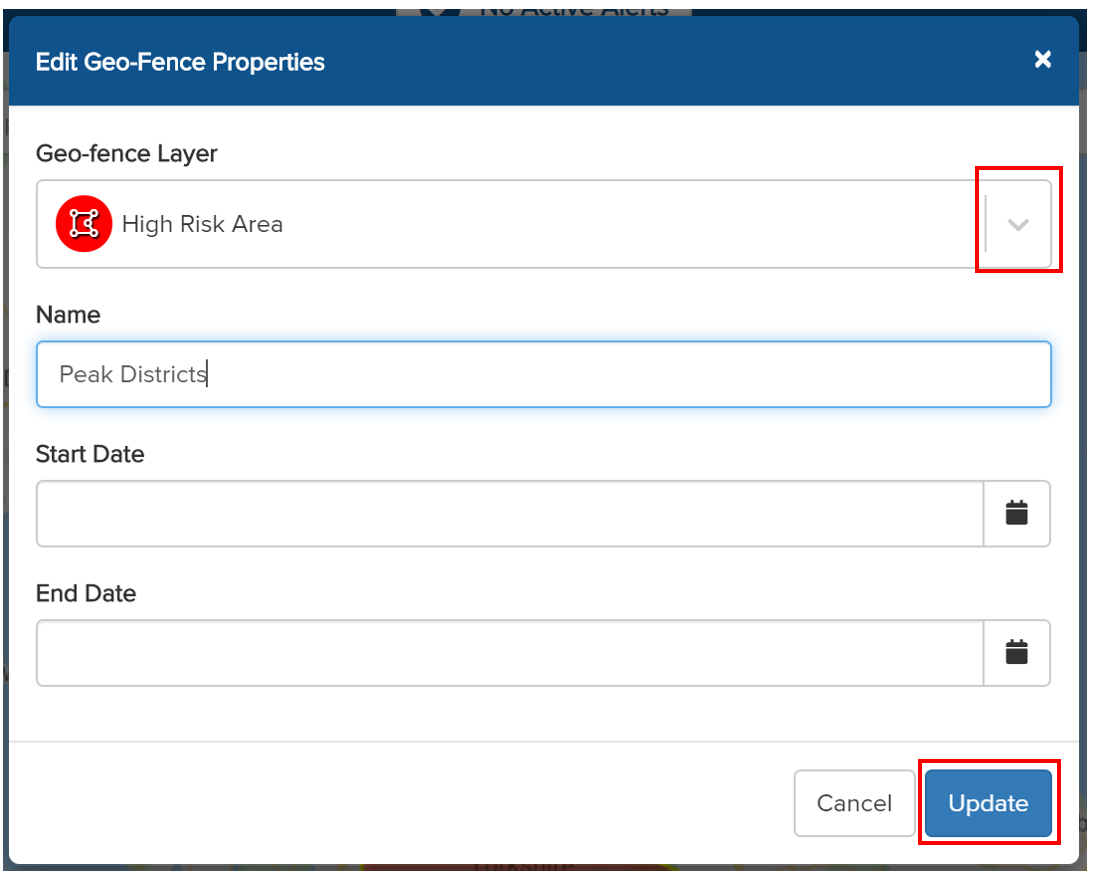
To move a Geo-Fence to a different layer, first select the Geo-Fence you wish to move and click Edit Properties from the Actions menu.
Make any necessary amendments and click the Geo-Fence Layer drop-down. Select the Geo-Fence Layer you wish to move the Geo-Fence to, then click Update to save your changes.