
Checkpoints are specific physical locations marked with a QR code that can be scanned using the Vismo Locate & Protect app. These are typically placed at key areas such as building entrances and exits, high-risk zones, laboratories, or secure rooms. Scanning a Checkpoint allows users to log their presence at a location, helping to improve visibility, safety, and compliance across an organisation.
 QR codes are automatically generated when a Checkpoint is created in your Vismo account. These codes can be printed and placed at key locations such as building entrances, exits, or high-risk internal areas.
End users can scan these QR codes using their mobile phone's camera, provided they have the Vismo Locate & Protect app installed on their device.
Step-by-Step Guide: Scanning a Checkpoint QR Code
Open the Camera App
The user opens the camera on their mobile phone and points it at the printed QR code located at the designated Checkpoint (e.g. entry/exit or internal area).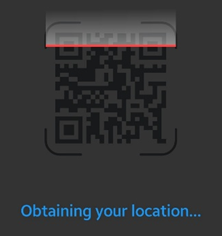
- Tap the Link
Once the camera reads the QR code, a link will appear on the screen. The user should tap this link. - The Vismo Locate & Protect App will Open
The link will automatically launch the Vismo Locate & Protect app and perform the scan. Confirmation Message
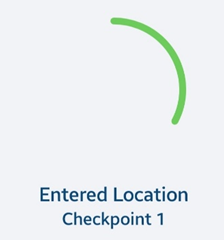
A confirmation message will appear within the app, indicating that the Checkpoint scan was successful.
- Scan Complete
No further action is required.
If the user needs to scan out of the location, they can simply repeat the same process by scanning the QR code again.