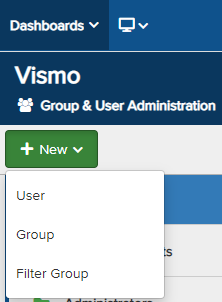
From the Group & User Administration page, click New and select User from the drop-down menu.
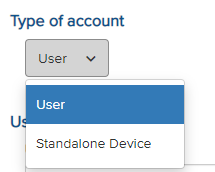
A new screen will appear to add a user. Under Type of Account, select User from the drop-down menu.
Enter the user details in the fields provided. Fields marked with an asterisk (*) are mandatory, including Username and Forename.
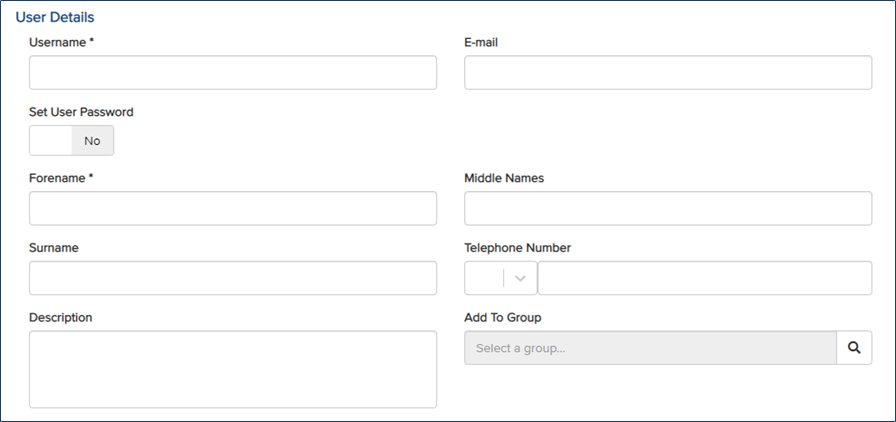
Set User Password – To allow the user to log in to the Portal or App using a password, toggle the Set User Password switch to Yes. Enter the password twice. Password settings can be managed under Security.
Note: A password is required to log in to the Portal.
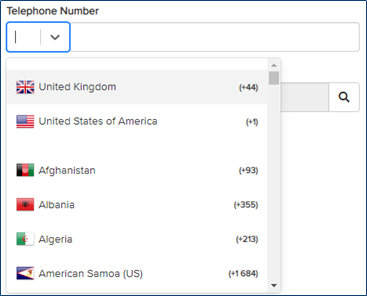
 Telephone Number – Click the drop-down next to Telephone Number to view the list of available country codes. Select the appropriate country code, then enter the user’s telephone number in the text box.
Add to Group – To add the new user to a group, click the magnifying glass under Add to Group and select the appropriate group from the pop-up. To add the user to multiple groups, refer to the Adding Users to Groups article.

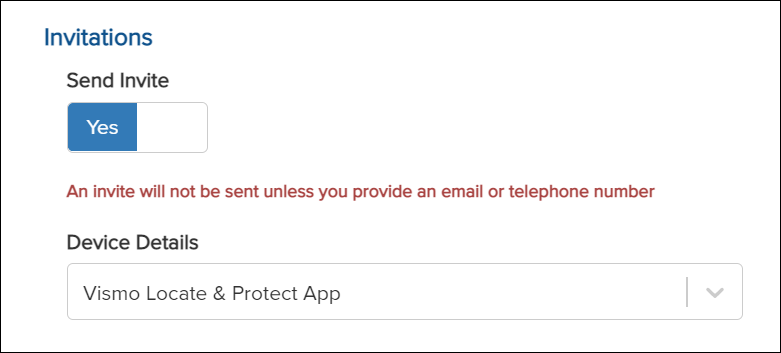
Invitations – To invite the user to download the Vismo App, toggle the Send Invite switch to Yes.
A Device Details box will prompt you to select a device. This ensures the user receives the correct link to download the Vismo App. The default option will be Vismo Locate & Protect App, as this is required for inviting a new user.
Note: An invite will not be sent unless an email address or phone number is provided.
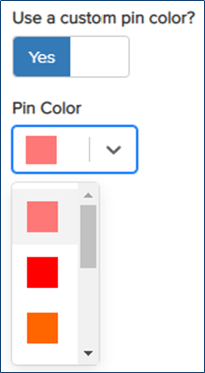
Use a Custom Pin Colour – Allows you to customise the user’s pin colour displayed on the Map Dashboard.
To set a custom pin colour, toggle the Use a custom pin colour? switch to Yes and choose the desired colour from the drop-down menu.
Avatar – To add an avatar for the user, either upload a file, drag and drop an image, or click on Display Settings.

Reference Fields – These are labels or categories that can be assigned to a user and can be searched using the search bar on the Map Dashboard.
Once the user has been configured, click Save at the top.