
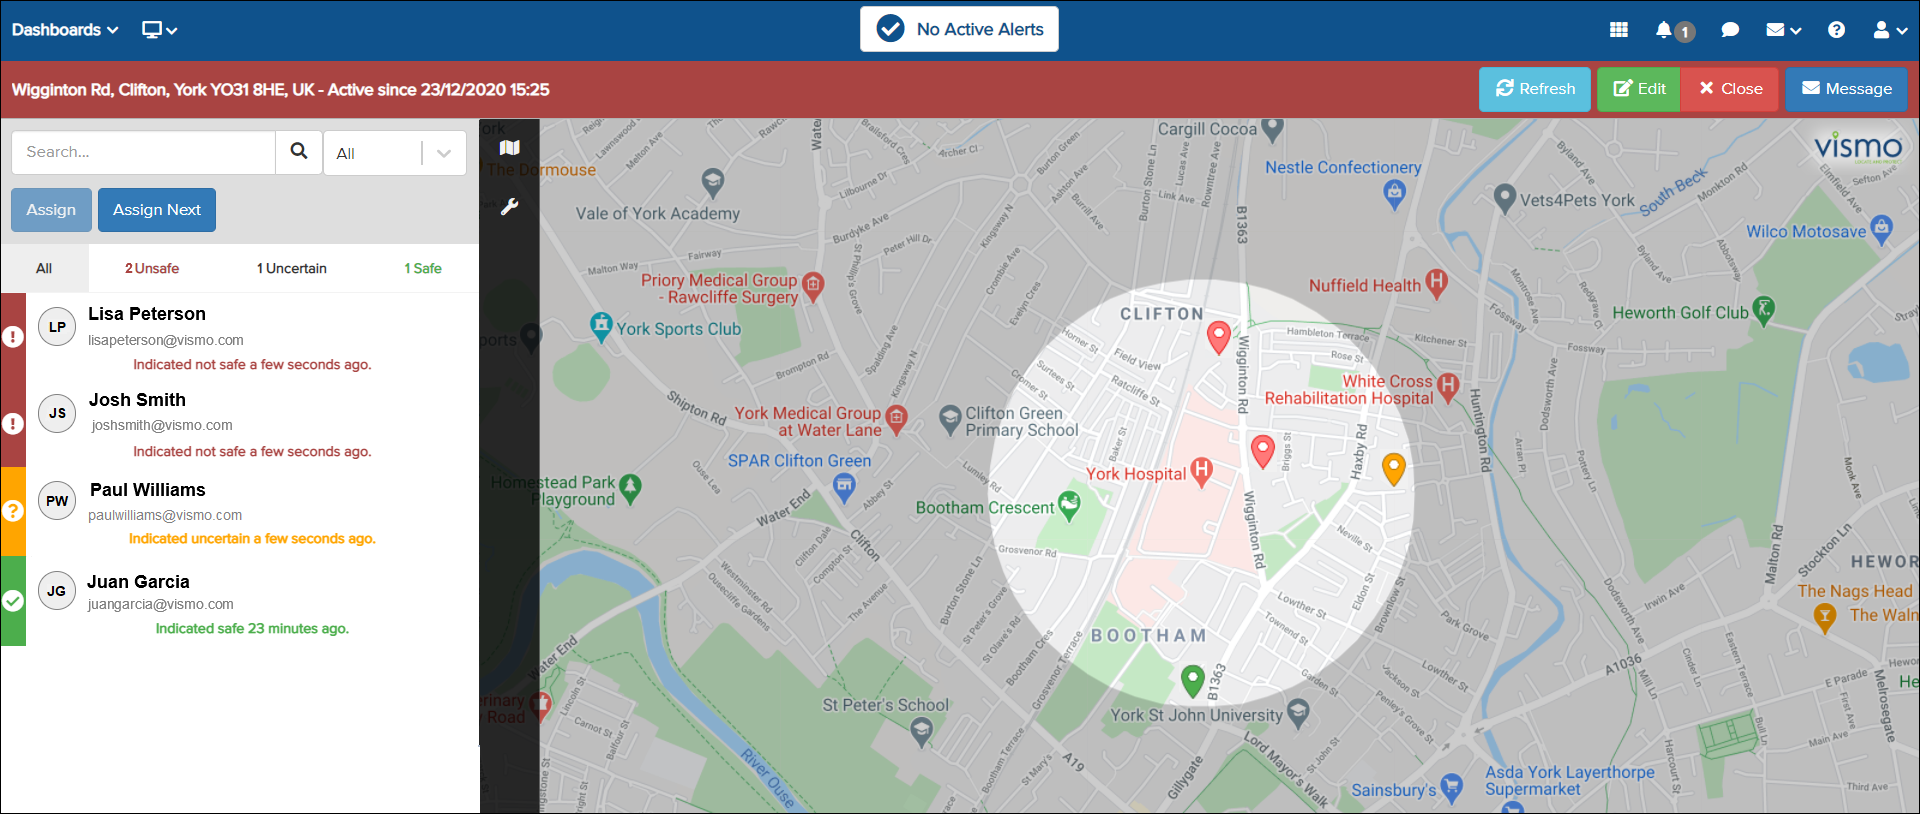
Enables you to assign each affected user to a specific member of the team managing the incident. The selected team member will be responsible for managing the status of all assigned users. The team is chosen when the incident is created.
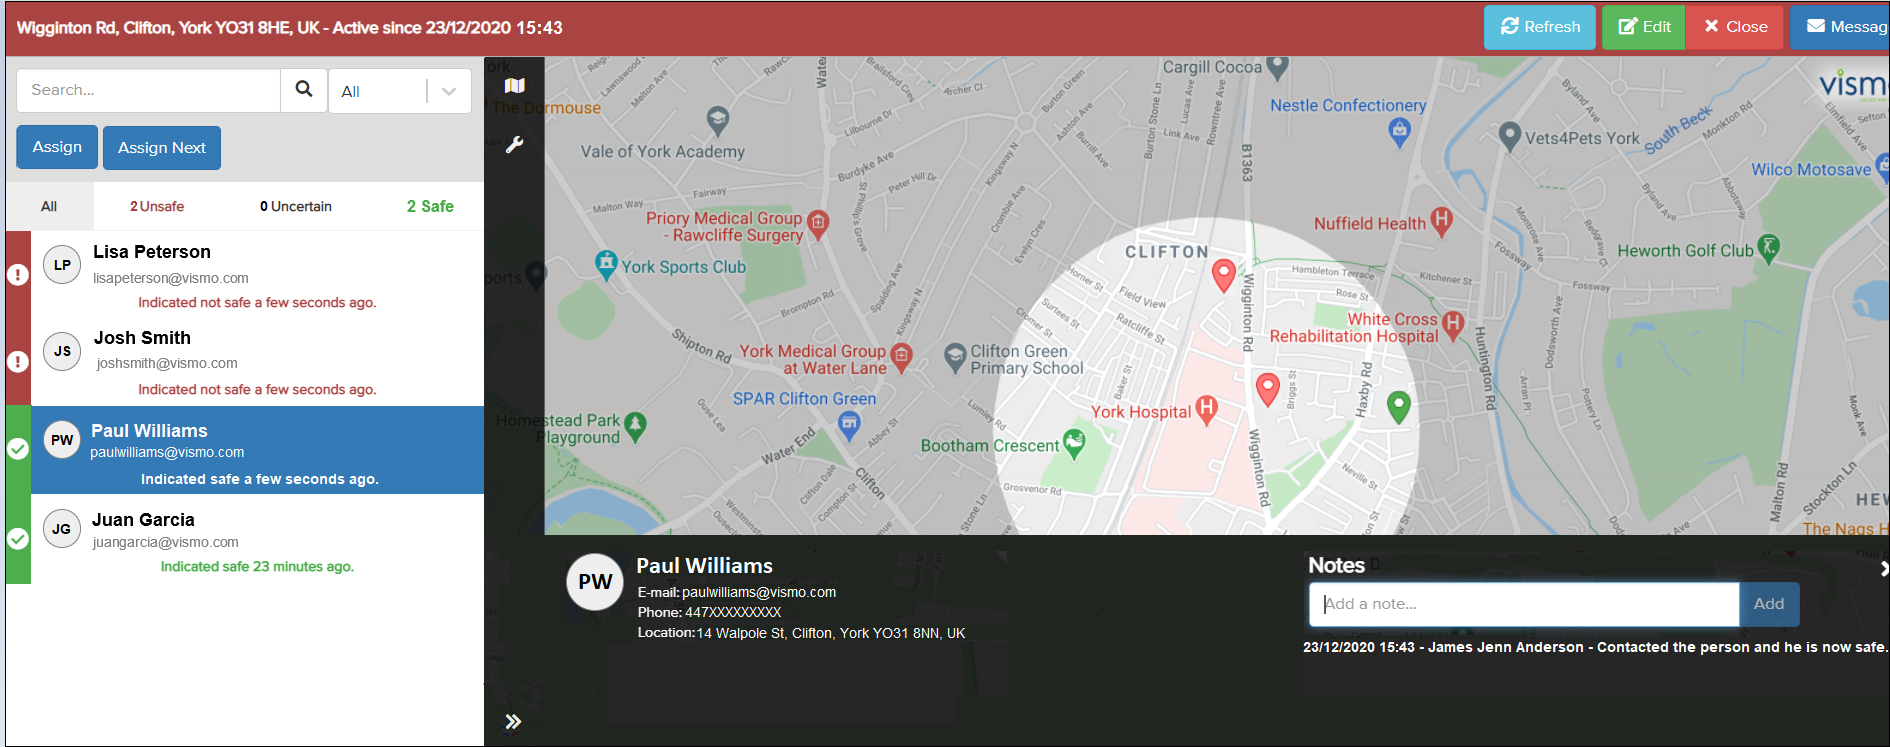
1) The image below shows a standard overview of an incident dashboard.
2) Select the user until they are highlighted in blue.
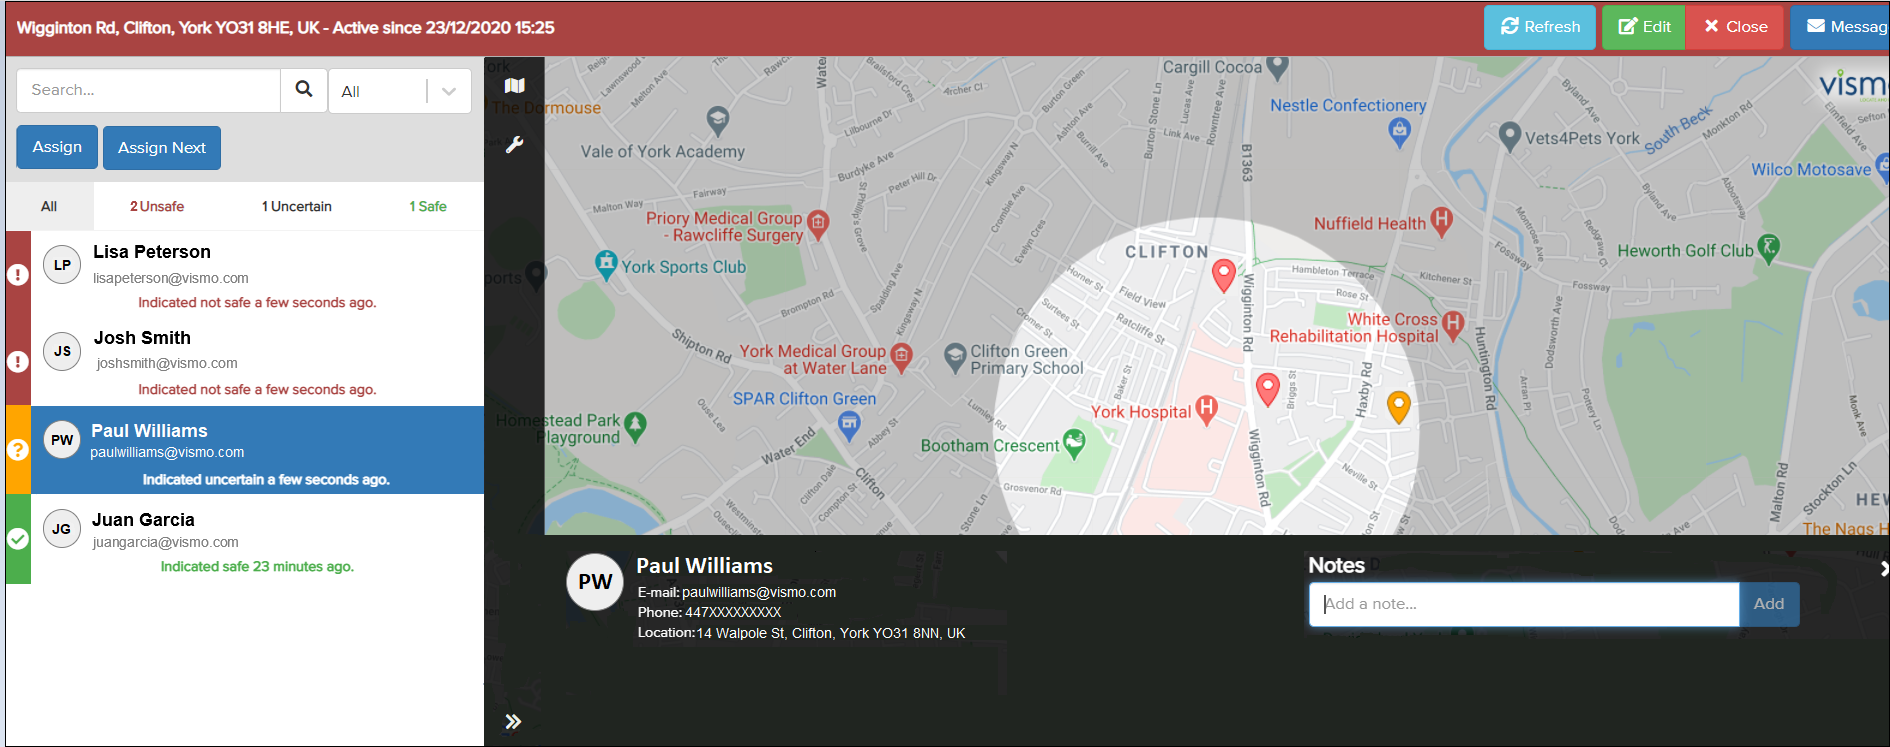
3) The pin on the map corresponding to the selected person will start wobbling. Click Assign above the user list.

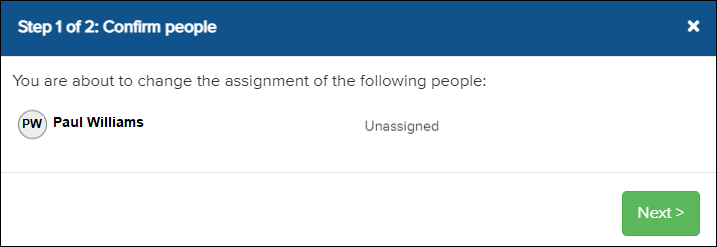
4) A window will appear confirming that you are assigning the correct person. Click Next.
5) Select the team member who will manage the user affected by the incident, then click Assign.
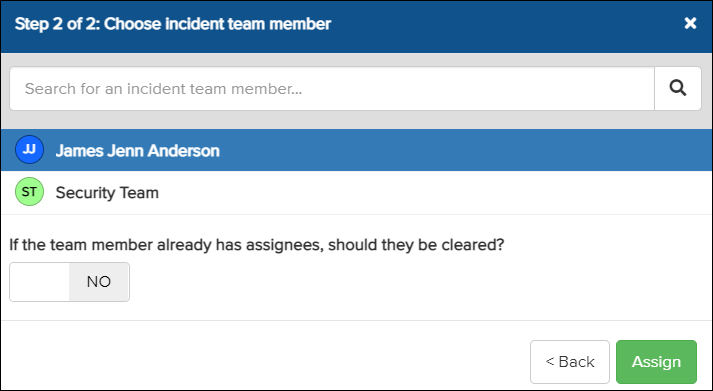
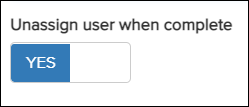
Enable this option if you want only one team member to be assigned to each user.

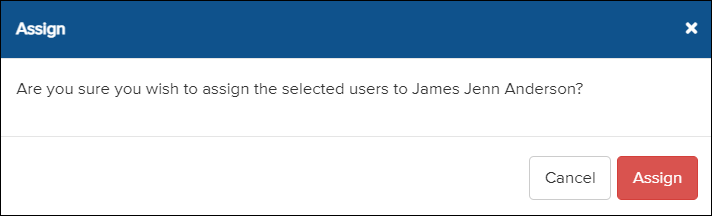
6) Click the red Assign button to confirm.
You can now update the user’s status and add notes.
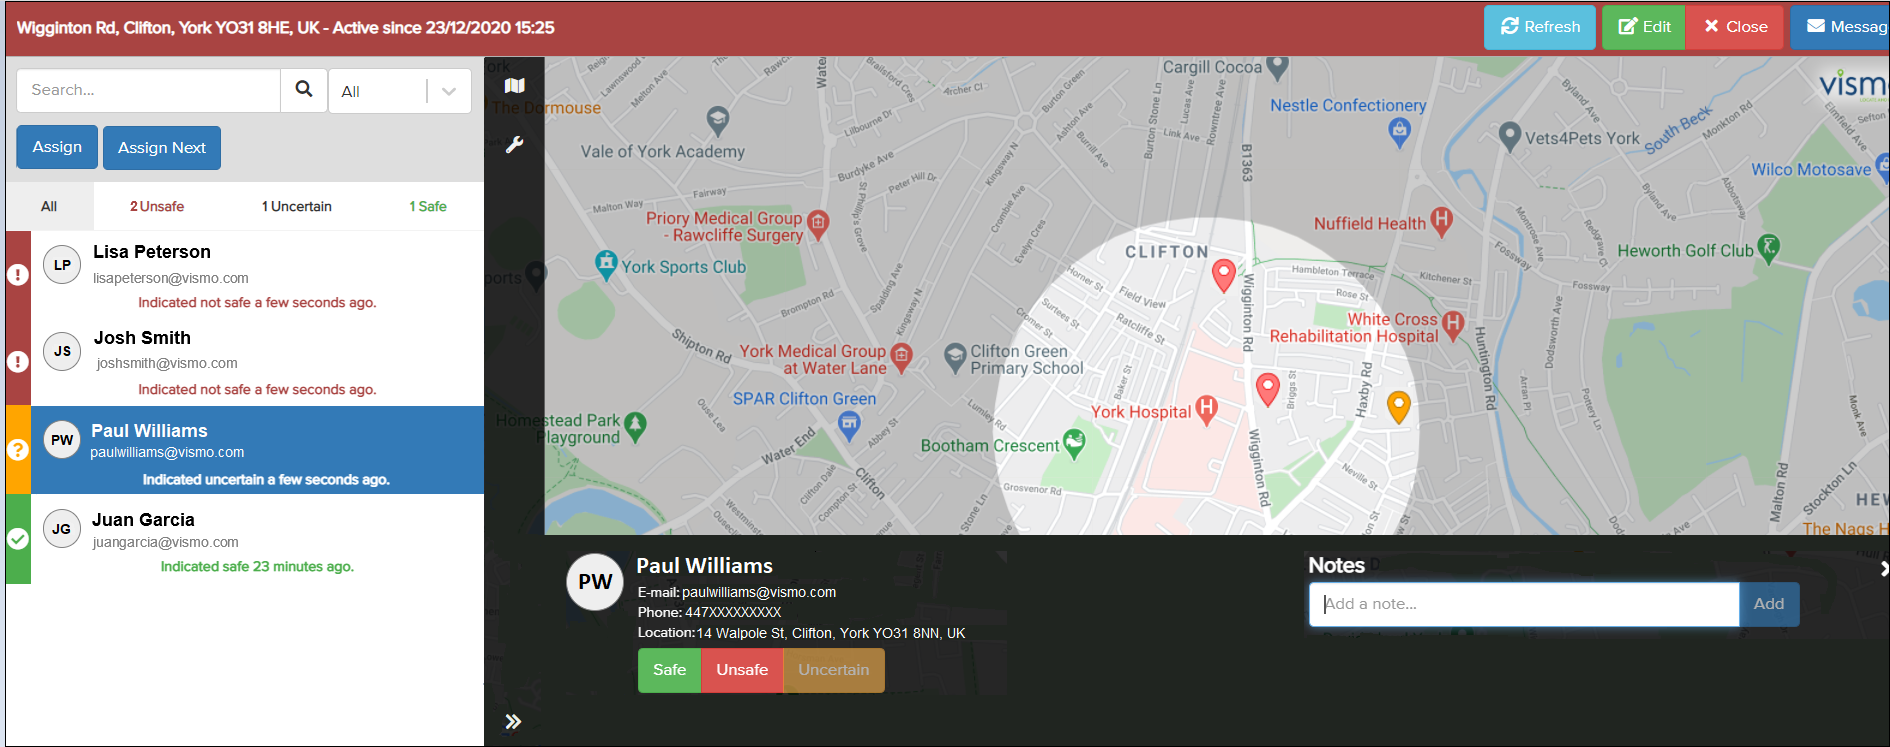
The following three buttons allow you to update the status.

Please note: You can only change the status a few minutes after the user has selected theirs. During this brief period, only the user can update it. Any attempt to change it will revert to the original status.
It is possible to assign multiple users at once to a team member managing the incident.
Status Management
1) Once you have confirmed that the user is safe, click the Safe button and a message will appear.
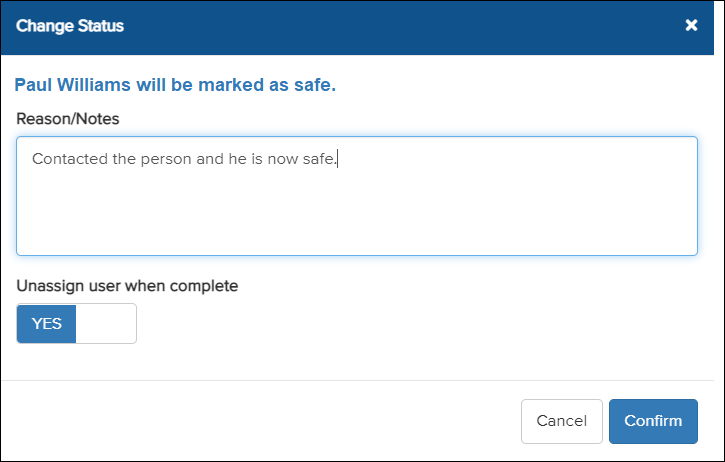
2) Enter the reason for changing the status and click Confirm. Toggle YES or NO if you wish to unassign the user after confirming the status change.
3) Both the pin and the strip next to the user’s details will turn green. A note will also be added under Notes.


The buttons have disappeared because I chose to automatically unassign the user once the status was changed.