An incident is an event that you consider significant for your team in a specific area. It provides a quick way to send a message to everyone in a potentially dangerous area without having to manually contact each individual user.
Incident Area
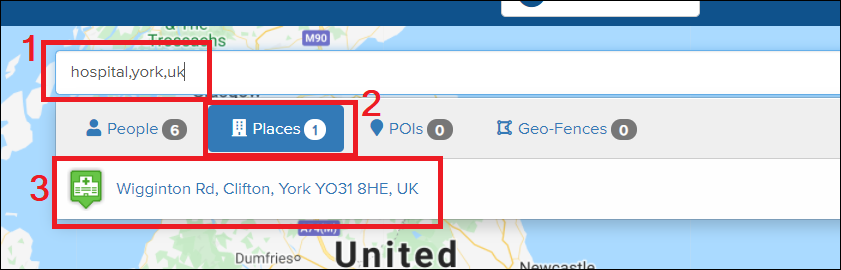
- In the search bar at the top, enter the location of the incident. This can be a general location as shown in the image below, but it must include the city and country, separated by commas. Example: “hospital, York, UK”.
- Select “Places” (this can also be used for POIs or Geo-Fences).
- Choose the option that appears.
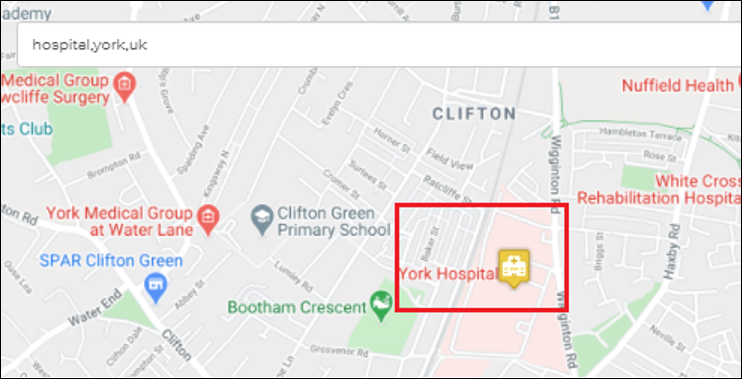
After selecting the desired address, Vismo will navigate to the location and mark it with a pin.
 .
.
Creating the Incident
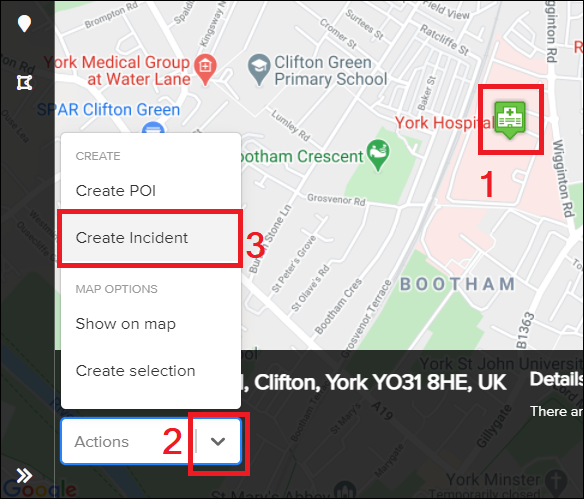
- Click on the pin.
- In the bottom left corner, click on the drop-down menu “Actions”.
- Select “Create Incident”.
It will bring you to the main Incident page.
Incident Information Fields
1. Enter the name you want to assign to the incident, e.g., “Flood Incident”.

2. Choose the severity of the incident (Low, Medium, High).

3.Select the team responsible for checking on users who may be affected by the incident. The team will consist of all members of a group within your account.
Note: If you want more than one team to handle the incident, simply click the green “New” button.

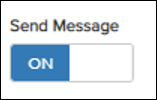
4. This must be enabled to send a message to all users.
5. If you have created a template, it will automatically fill in the fields below. Note: You will still need to complete the fields above.
6. Message to be sent to all users in the impacted area

7. Duration of the incident

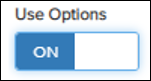
8. This must be enabled if you want to receive a quick, customisable response from affected users. More information about customisable responses is provided below.
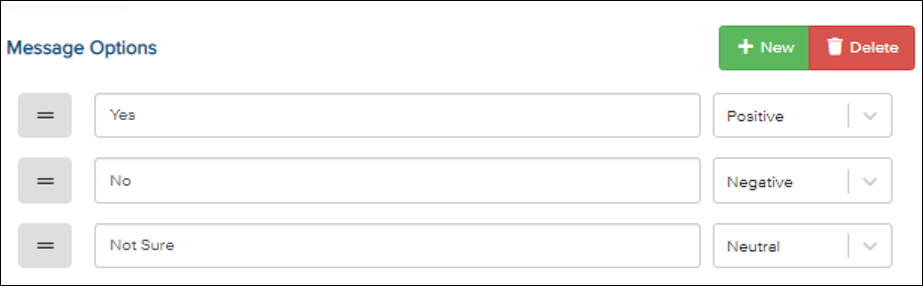
9. This section allows you to configure specific messages you want to receive from affected users.
It provides a quick and effective way for users to report their status.
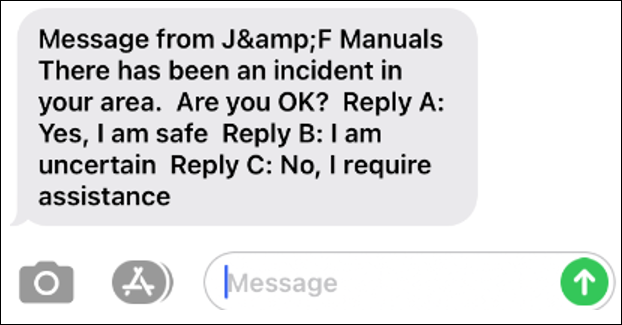
In the example below, three options have been set up. Users will receive a message asking them to reply with one of these options only.
You can add as many options as you like, but each message must be assigned one of the following four categories: Positive, Negative, Neutral, or Auto.
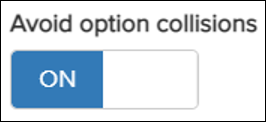
10. If you have set up more than one Positive (or any other duplicate) message option, this will prevent any potential conflicts.
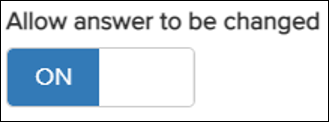
11. Allows the team managing the incident to edit the message after the incident has been created.
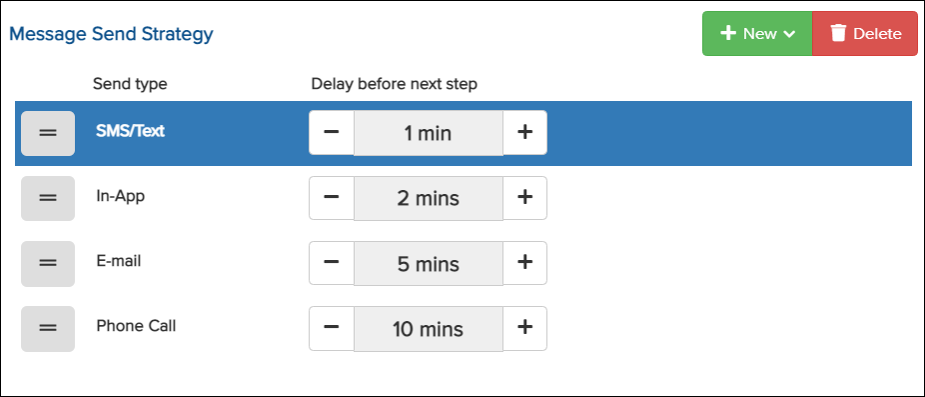
12.This section lets you configure how the message will be sent to all affected users.
In the example below, an SMS will first be sent to all users. If there is no response, an In-App message will be sent after 2 minutes, and so on. You can add or remove any of these options.
End-User Notification
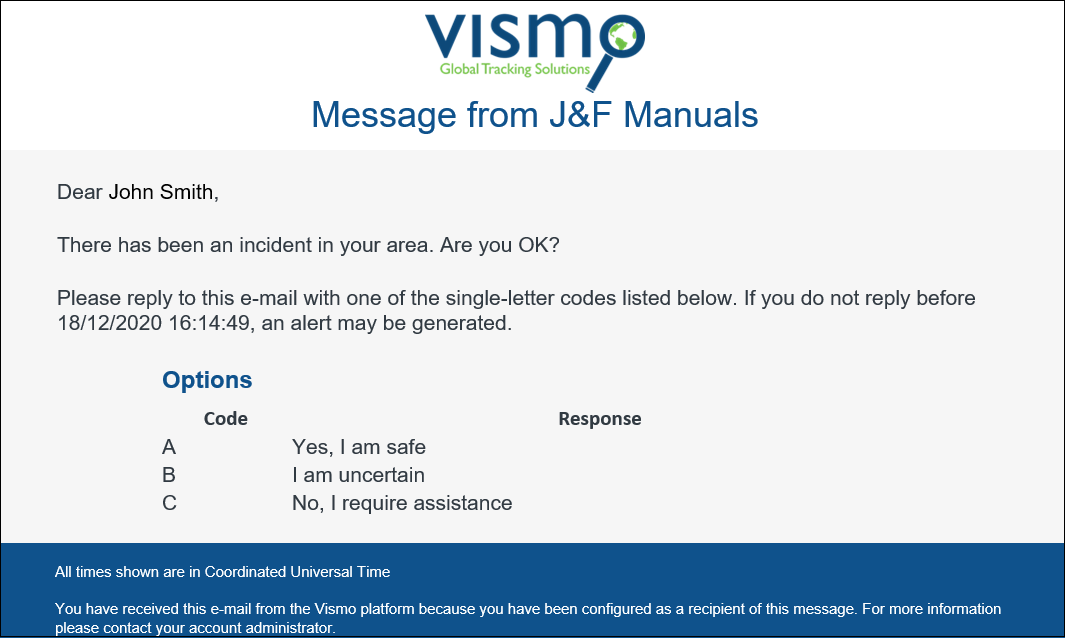
SMS/Text
The user just needs to reply with the letter corresponding to their current situation.
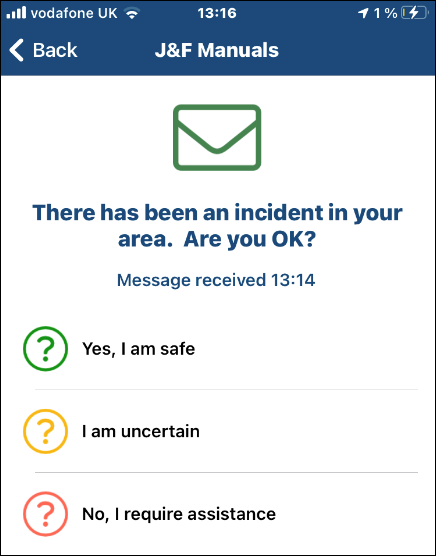
In-App
The user only needs to select one of the options.
The user only needs to reply with the letter that corresponds to their current situation.
Phone Call
It will be an automated phone call.

Finally, in the top left corner, click “Create Incident”.