1) Click on the Services icon at the top right corner of the screen, then select Jobs from the list.


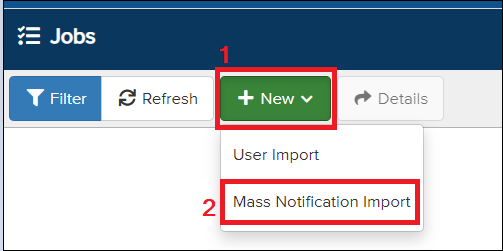
2) A new page will appear. Click on New, then select Mass Notification Import.
3) Follow the on-screen instructions.
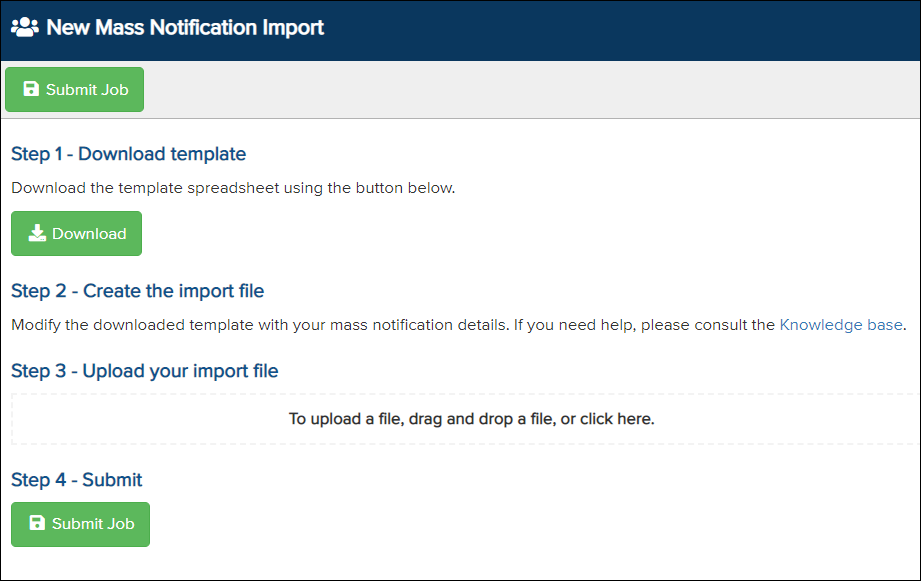
- Download and open the template spreadsheet.
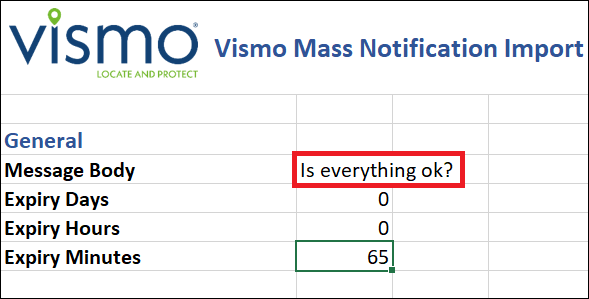
- You can edit the Message within the red rectangle.
Please note: The Expiry time must be between 60 minutes and 1 day.
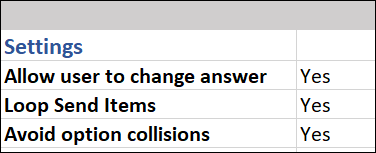
This section allows users to change their response.
Resend the message if the user does not reply.
Helps prevent errors when selecting different options.
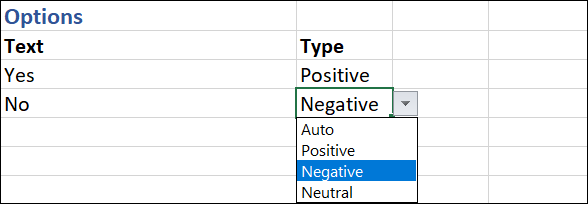
This section pre-determines the answers users can select. In this case, only two options will be presented to the users.
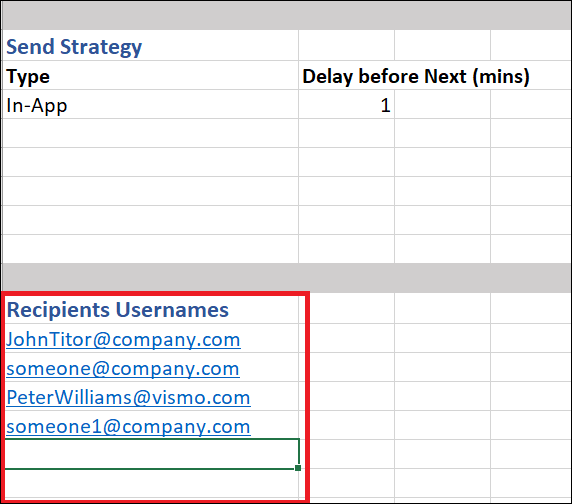
Add as many contacts as required under Recipients Usernames.
Please note: The Send Strategy is set to In-App by default, as shown in the image below. You can add or change it to Email, SMS, Phone Call, Slack, or Teams.
- Save the spreadsheet.
- Upload the saved spreadsheet by either clicking the box below Step 3 or dragging the file into the box.

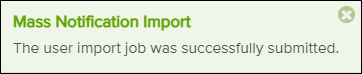
Submit the file by clicking on “Submit Job.”
The image below will appear in the top right corner of your screen.
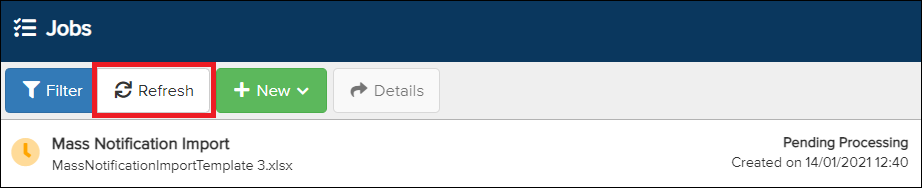
Wait a few seconds to see if the message has been sent, then click Refresh.
6) The message status has now been updated.
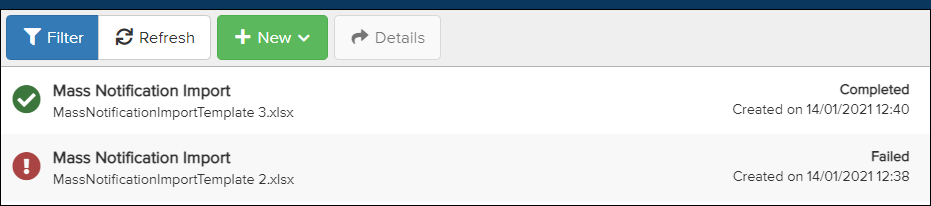
 - Success
  - Failed
Review Reasons for Mass Alert Failure
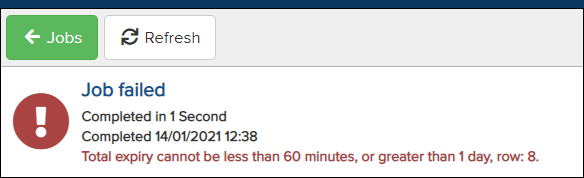
1) Select the failed message so it is highlighted in blue, then click on Details.
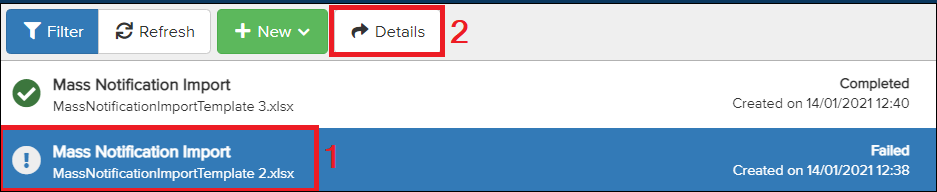
2) A red message will indicate where the error is in the spreadsheet.